2 -4 Months
2 hrs./day
Wire harness course in Vadodara
Take Your Engineering Career to the Next Level with Best Wire Harnessing with Creo Training Center in Vadodara
Our students work at well-known companies


About Wire harness classes in Vadodara
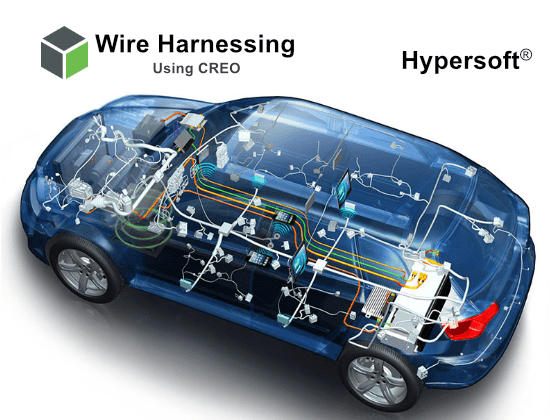
1. What is Wire Harnessing?
Wire Harnessing refers to the process of organizing and bundling electrical wires, cables, and connectors into a single, structured assembly called a wire harness or wiring harness. This is done to efficiently transmit electrical power or signals within a system, such as in vehicles, machinery, or electronics.
Key Features of Wire Harnessing:
- Bundling Wires: Multiple wires are combined into a single assembly, often encased in protective sheaths, conduits, or coverings.
- Connectors and Terminals: Connectors are added at ends for easy integration with devices or circuits.
- Routing and Securing: The harness is routed to avoid interference, wear, and tear, and is secured using clamps or ties.
- Cabling: Wire harnesses are designed to fit within the cab or other confined spaces, ensuring efficient and space-saving installations in vehicles or machinery.
2. Career Opportunities After Learning Wire Harnessing?
- Automotive Industry:
Designing wire harness systems for vehicles, including routing and layout for headlights, sensors, and infotainment systems. Critical in electric and hybrid vehicles for managing complex wiring. - Aerospace Sector:
Developing lightweight and durable harness designs for aircraft, satellites, and defense systems, ensuring reliability under extreme conditions. - Consumer Electronics:
Creating compact and efficient wire harness designs for electronic devices like appliances, TVs, and computers. - Industrial Automation and Robotics:
Designing harnesses for control panels, robots, and industrial machinery to ensure organized and efficient power and signal distribution. - Medical Equipment Manufacturing:
Designing precise harnesses for diagnostic machines, imaging systems, and patient monitoring devices. - Renewable Energy Sector:
Developing harness designs for solar panels, wind turbines, and battery systems to optimize power transmission and connectivity. - Railways and Transportation:
Designing wiring systems for trains, metros, and signaling equipment to ensure safe and reliable operation. - Marine Industry:
Creating corrosion-resistant and waterproof wire harness designs for boats and ships. - Construction and Heavy Equipment:
Designing harnesses for excavators, cranes, and other heavy machinery to enhance durability and performance. - Telecommunications:
Developing wire harness designs for networking equipment, including servers, routers, and telecom infrastructure.
3. Who can learn Wire Harnessing?
- Diploma, Bachelor’s, or Master’s students in Electrical, Mechanical, Automobile, Aeronautical, and Instrumentation Engineering.
- Electrical AutoCAD Designers looking to expand into wire harness design.
- Mechanical Production Engineers seeking a career switch to design.
- Electrical QA/QC Engineers wanting to transition into design.
- NPD (New Product Development) Professionals involved in the design and development of new products.
4. What are the most popular software used for designing wire harnesses ?
- Creo – Widely used for creating 3D wire harness designs, especially in the automotive and aerospace industries.
- Catia – A powerful software for designing complex wire harness systems, commonly used in aerospace and automotive sectors.
- SolidWorks – Popular for wire harness design in mechanical engineering, offering intuitive tools for routing and assembly.
This course includes:
- From Zero to Advance Level training
- Courses Content Crafted by industry experts.
- Theory & Practice Book
- Personalized Doubts Solving
- Government approved International certification
- Post Training Support
- Placement Assistance
What You’ll Learn in Creo Wire Harnessing Training at Hypersoft
1. Creo Interface & 2D Sketch
- Sketching Tools
Use sketching tools like Line, Rectangle (Corner, Slanted, Center, Parallelogram), Circle, Arc, Ellipse, and Spline to create simple and complex shapes for your design. Refine your geometry with Delete Segment to clean up unnecessary parts. - Dimension Tools
Apply Normal Dimension for standard sizing and Modifying Dimension to adjust dimensions according to design needs. Ensure accurate measurements and positioning for a well-defined design. - Fillet and Chamfer
Use Fillet to round edges and Chamfer for angled edges, allowing for smooth transitions and improving the flow of the design, especially in wire harness components. - Trim Tools
Use Circular Trim and Elliptical Trim to remove unwanted portions of your sketches, refining your design by ensuring only the necessary elements remain. - Constraints and Symmetry
Maintain design accuracy with Constrain Box tools such as Vertical, Horizontal, Perpendicular, Tangent, Coincident, Symmetric, Parallel, and Equal. These help control relationships between sketch elements and ensure proper alignment. - Coordinate System & Reference Geometry
Establish a Coordinate System for precise positioning and use Reference Geometry to create datum planes, axes, and points, offering a solid foundation for 3D modeling. - Offset, Mirror, and Thicken Tools
The Offset tool creates parallel lines at a fixed distance from an existing element, while the Mirror tool duplicates sketch entities symmetrically. Use the Thicken tool to add thickness to surfaces or features in the design, helping to create the desired geometry for wire harness components. - Rotate and Resize
Use the Rotate Resize tool to adjust the orientation or scale of your sketch elements, helping you fine-tune the layout for wire harnessing and component fitting. - Text, Point, and Corner Tools
Add Text for annotations, use Point for marking specific locations, and apply Corner for rounding the intersections of sketch elements. These tools ensure clarity and organization in your wire harness design. - Display & View Tools
Manage the visual appearance of your design with tools like Display Style, Repaint, and Orientation View Save. Adjust the workspace and save custom views for better design review and presentation. The View Manager allows you to organize and control the visibility of parts, while Datum Display Filter focuses on reference geometry for clarity. Use Pallets to access commonly used tools and enhance workflow efficiency.
2. Part Design
- Part Creation Tools (Extrude, Revolve): Use Extrude and Revolve to transform 2D sketches into 3D parts. These basic tools help create a variety of solid shapes and forms for any design.
- Datum Plane and Shell: Define part features with Datum Plane, essential for positioning and feature creation. Shell hollowing tool allows you to thin out parts, optimizing material usage.
- Mirror, Round, and Chamfer: Symmetrically duplicate features with Mirror. Round softens edges for improved design flow, while Chamfer adds beveled edges to corners for aesthetics and safety.
- Hole and Sweep Tools: Use the Hole tool to create precise openings for fasteners or fittings. Sweep allows you to create complex, curved shapes by sweeping a profile along a path.
- Swept Blend and Pattern Tools: For advanced shape creation, use Swept Blend to form complex geometries along multiple paths. Apply Pattern to duplicate features, utilizing Direction, Axis, Curve, and Point to control the pattern’s layout and alignment.
- Axis and Point Creation: Use Axis to create reference lines for rotational or symmetric features, and Point for placing precise reference locations or anchors in your design.
- Data Management (Get Data Import & Tree Filter): Streamline design processes with Get Data Import to bring in external data. Tree Filter helps manage and navigate complex assemblies or parts efficiently.
- Annotation, Reference, and Parameters: Use Annotate to add dimensions and notes to your designs. The Reference Viewer tracks dependencies, while Parameters allow for controlling and adjusting part features dynamically.
- Shrink Wrap and Investigation Tools: Simplify your models with Shrink Wrap, creating a lightweight, simplified version for easier sharing. Use Investigate Tools to explore and analyze design performance and integrity.
3. Creating Assemblies
- Adding Components to Assembly:
Use the Add Component tool to bring individual parts into the assembly. This allows you to place parts in the design space and begin the assembly process. - Applying Constraints:
To define relationships between components, apply various Constraints such as:
Default: The basic constraint to attach parts.
Coincident: Aligns two faces or edges to be coincident (in the same plane).
Distance: Sets a specific distance between two components.
Parallel: Ensures two parts or faces are parallel to each other.
Normal: Aligns parts at a perpendicular angle.
- Creating Sub-Assemblies:
Use Create Sub-Assembly to group components into smaller, manageable units within the main assembly. This helps in organizing the design and improves workflow by treating subassemblies as single components.
4. Sheet Metal
- Walls in Sheet Metal:
Extrude: Create walls by extruding a 2D profile in sheet metal.
Revolve: Create a wall by revolving a profile around an axis.
Boundary Blend: Use boundary blending to form smooth transitions between different walls.
Attached Walls: Define walls that are attached to other existing components or walls.
- Sheet Metal Wall Types:
Flat: Create flat walls or surfaces in sheet metal designs.
Flange: Add flanged edges to walls for better attachment or bending.
Extend: Extend the length of existing walls or surfaces.
Twist: Apply twisting motion to walls for forming complex sheet metal shapes.
- Converting Part into Sheet Metal:
Use the Convert Part into Sheet Metal tool to convert a regular part into a sheet metal part, enabling the use of specific sheet metal tools. - Corner Relief:
Apply Corner Relief to avoid sharp angles in corners, which can make the sheet metal part difficult to manufacture. - Edge Bend:
Use the Edge Bend tool to create bends on the edges of the sheet metal part for further shaping and flexibility.
5. Introduction to Wire Harnessing and Components
- Basic Introduction: Overview of wire harnessing, its importance, and applications in industries like automotive.
- Harness Process in Industry: Creation of the library for wire harnesses, assembly creation, harness creation, manufacturing creation, flat creation, and drawing creation for wire harnesses and components.
6. Input Data and Routing
- Input Data: Usage of schematic files (XML) and the master assembly of automotive models as input data for wire harnessing.
- Types of Routing: Two types of routing – Manual routing and Auto routing to define the wire paths in the harness assembly.
7. Harnessing Components and Assembly Creation
- Components for Assembly Creation: Use of connectors, splices, fir trees, labels, zip ties, and loom protection for creating wire harness assemblies.
- Harness Creation: Activating commands from the ribbon for creating spools, wires, cables, and ribbons necessary for harness assembly.
- Spool Creation: Process of spool creation for organizing and grouping wires in the harness assembly.
8. Designation of Connectors and Network Creation
- Designation of Connectors: Creation of coordinates, entry ports, and axis on connectors, along with verifying cable parameters for accurate wiring.
- Network Creation: Establishing networks for connectors, inserting and removing locations, creating continuous networks, branching out, and modifying tangency. Includes hiding/unhiding networks and identifying discontinuous networks.
9. Routing and Assembly Integration
- Routing the Harness: Routing wires, cables, and bundles, and rerouting them as needed. Attaching all required accessories to the harness, cross-checking connectors, and calculating connector masses.
- Assembly Integration: Recovering missed connectors, replacing connectors in assembly, creating map keys, and resolving wire failures. Includes moving components to HRN and ensuring all parts are correctly placed.
10. MFG/Flat Creation and Error Handling
- MFG/Flat Creation: Creation of flat views from 3D harness assemblies, setting start points in the layout, and developing all flat views necessary for manufacturing.
- Error Handling in Flat Views: Identifying and resolving errors in flat view creation and making adjustments to components as needed.
11. Modifying and Finalizing the Flat View
Modifying Flat Views: Redefining components, modifying segment dimensions such as angles and lengths, and regenerating flat views automatically and manually. Finalizing the flat layout for production use.
12. Drawing Creation for Harnessing
- Drawing Creation: Creating general views, custom scale views, and annotations for harness drawings. This includes balloon creation, BOM generation, revision table creation, and drawing format preparation.
- Finalizing the Drawing: Creating partial views, isometric views, symbol creation for connectors, and importing the wire list into the drawing.
- Cross-Section View Creation: Creation of cross-section views for better clarity in harness designs.
Wire Harness Course Completion - 6 Months
- Creo Trainer feedback on your your work throughout the course.
- Submission of a Wire Harness created in Creo
- Wire Harness certification 🎓
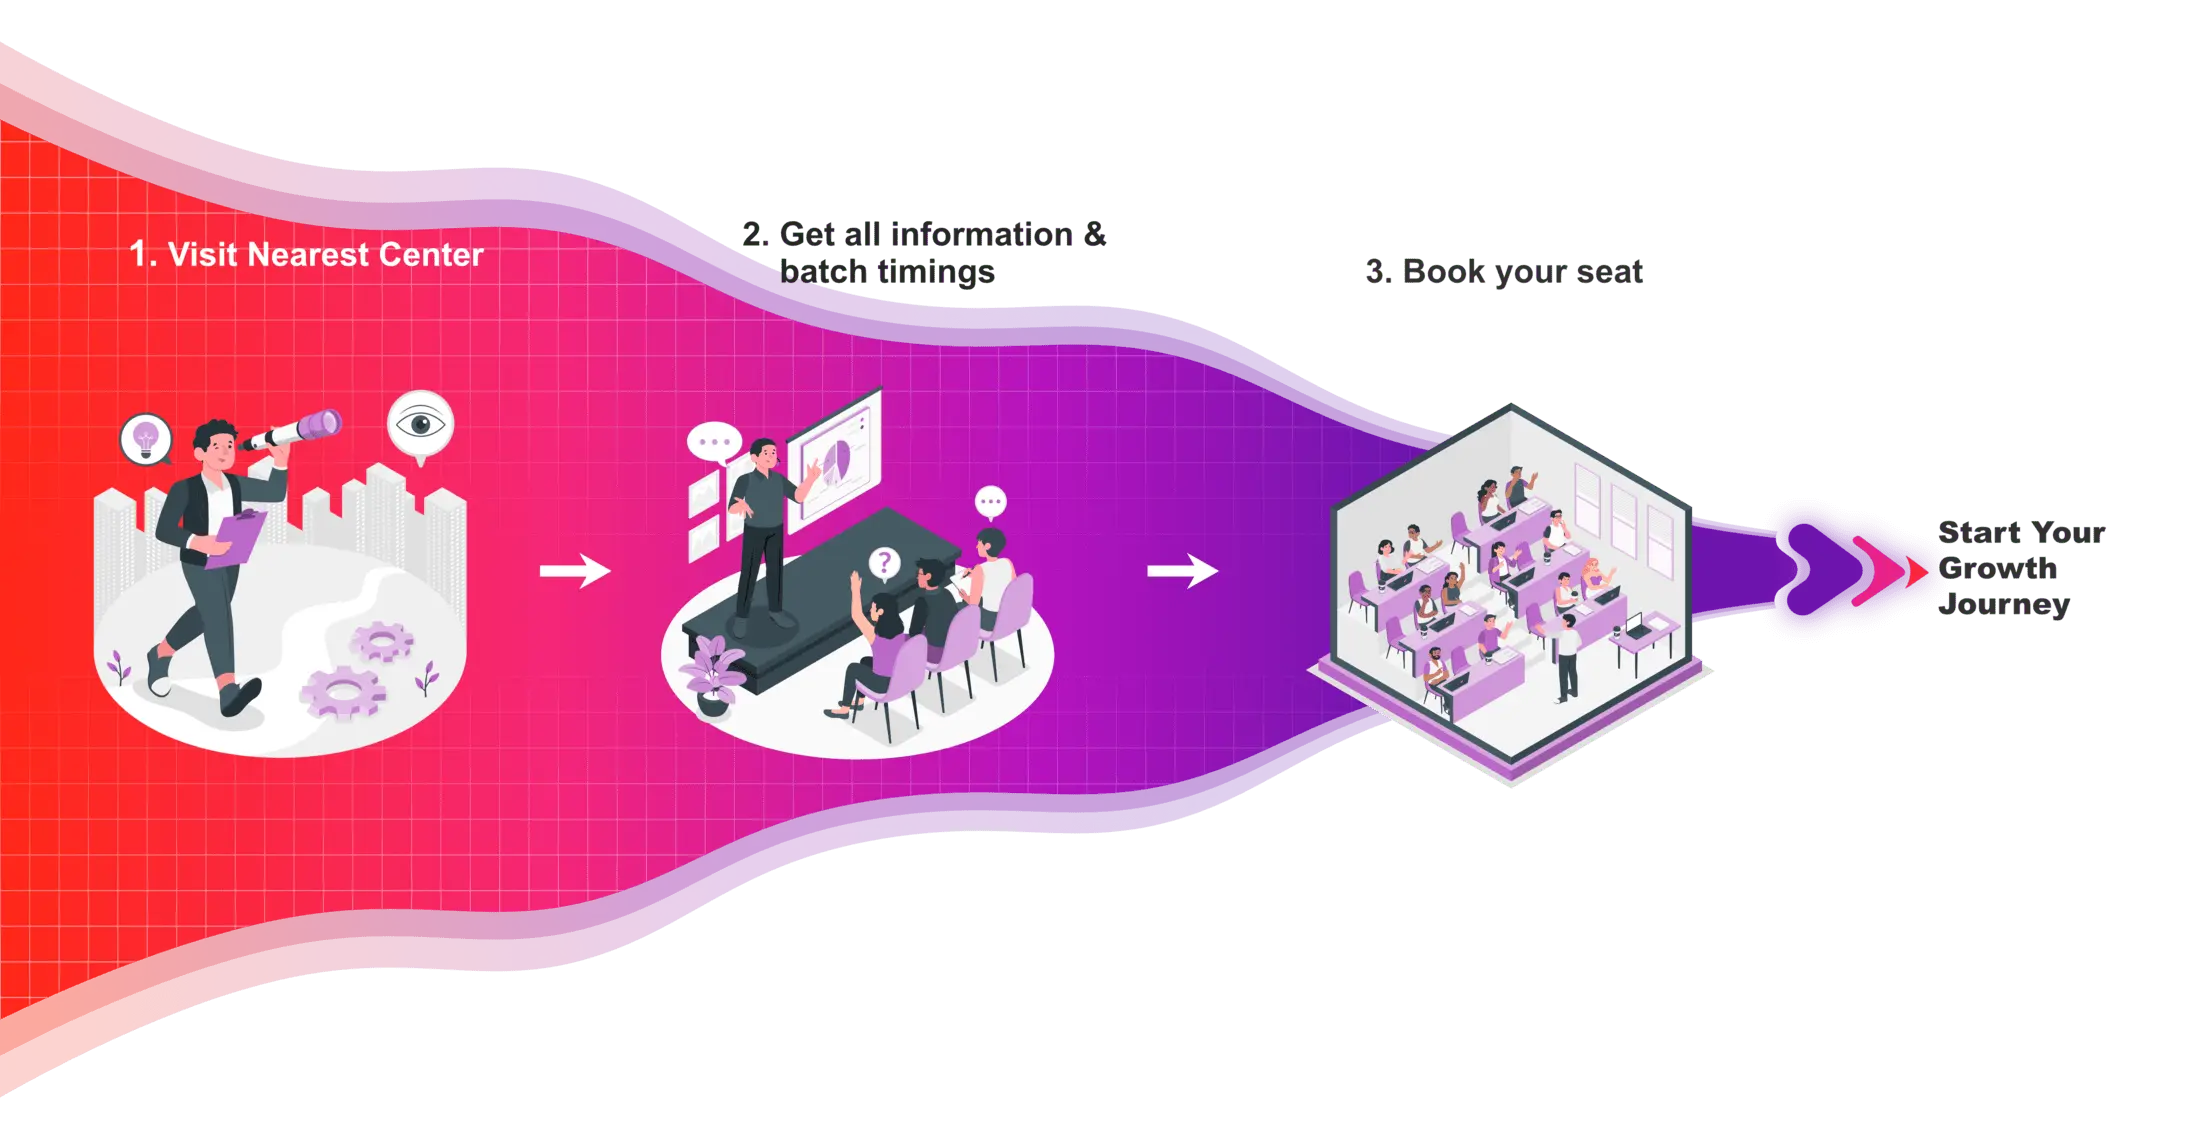
How to Join Hypersoft Creo Wire Harness Classes

Wire Harness Certifications
In today’s competitive job and college placement landscape, highlighting practical skills on your resume is important. Hypersoft’s industry-validated Creo course certifications, certified by NSDC, have the power to transform your resume. These certifications validate not only your Creo software skills but also your deep knowledge of the Designing, enhancing your credentials significantly.

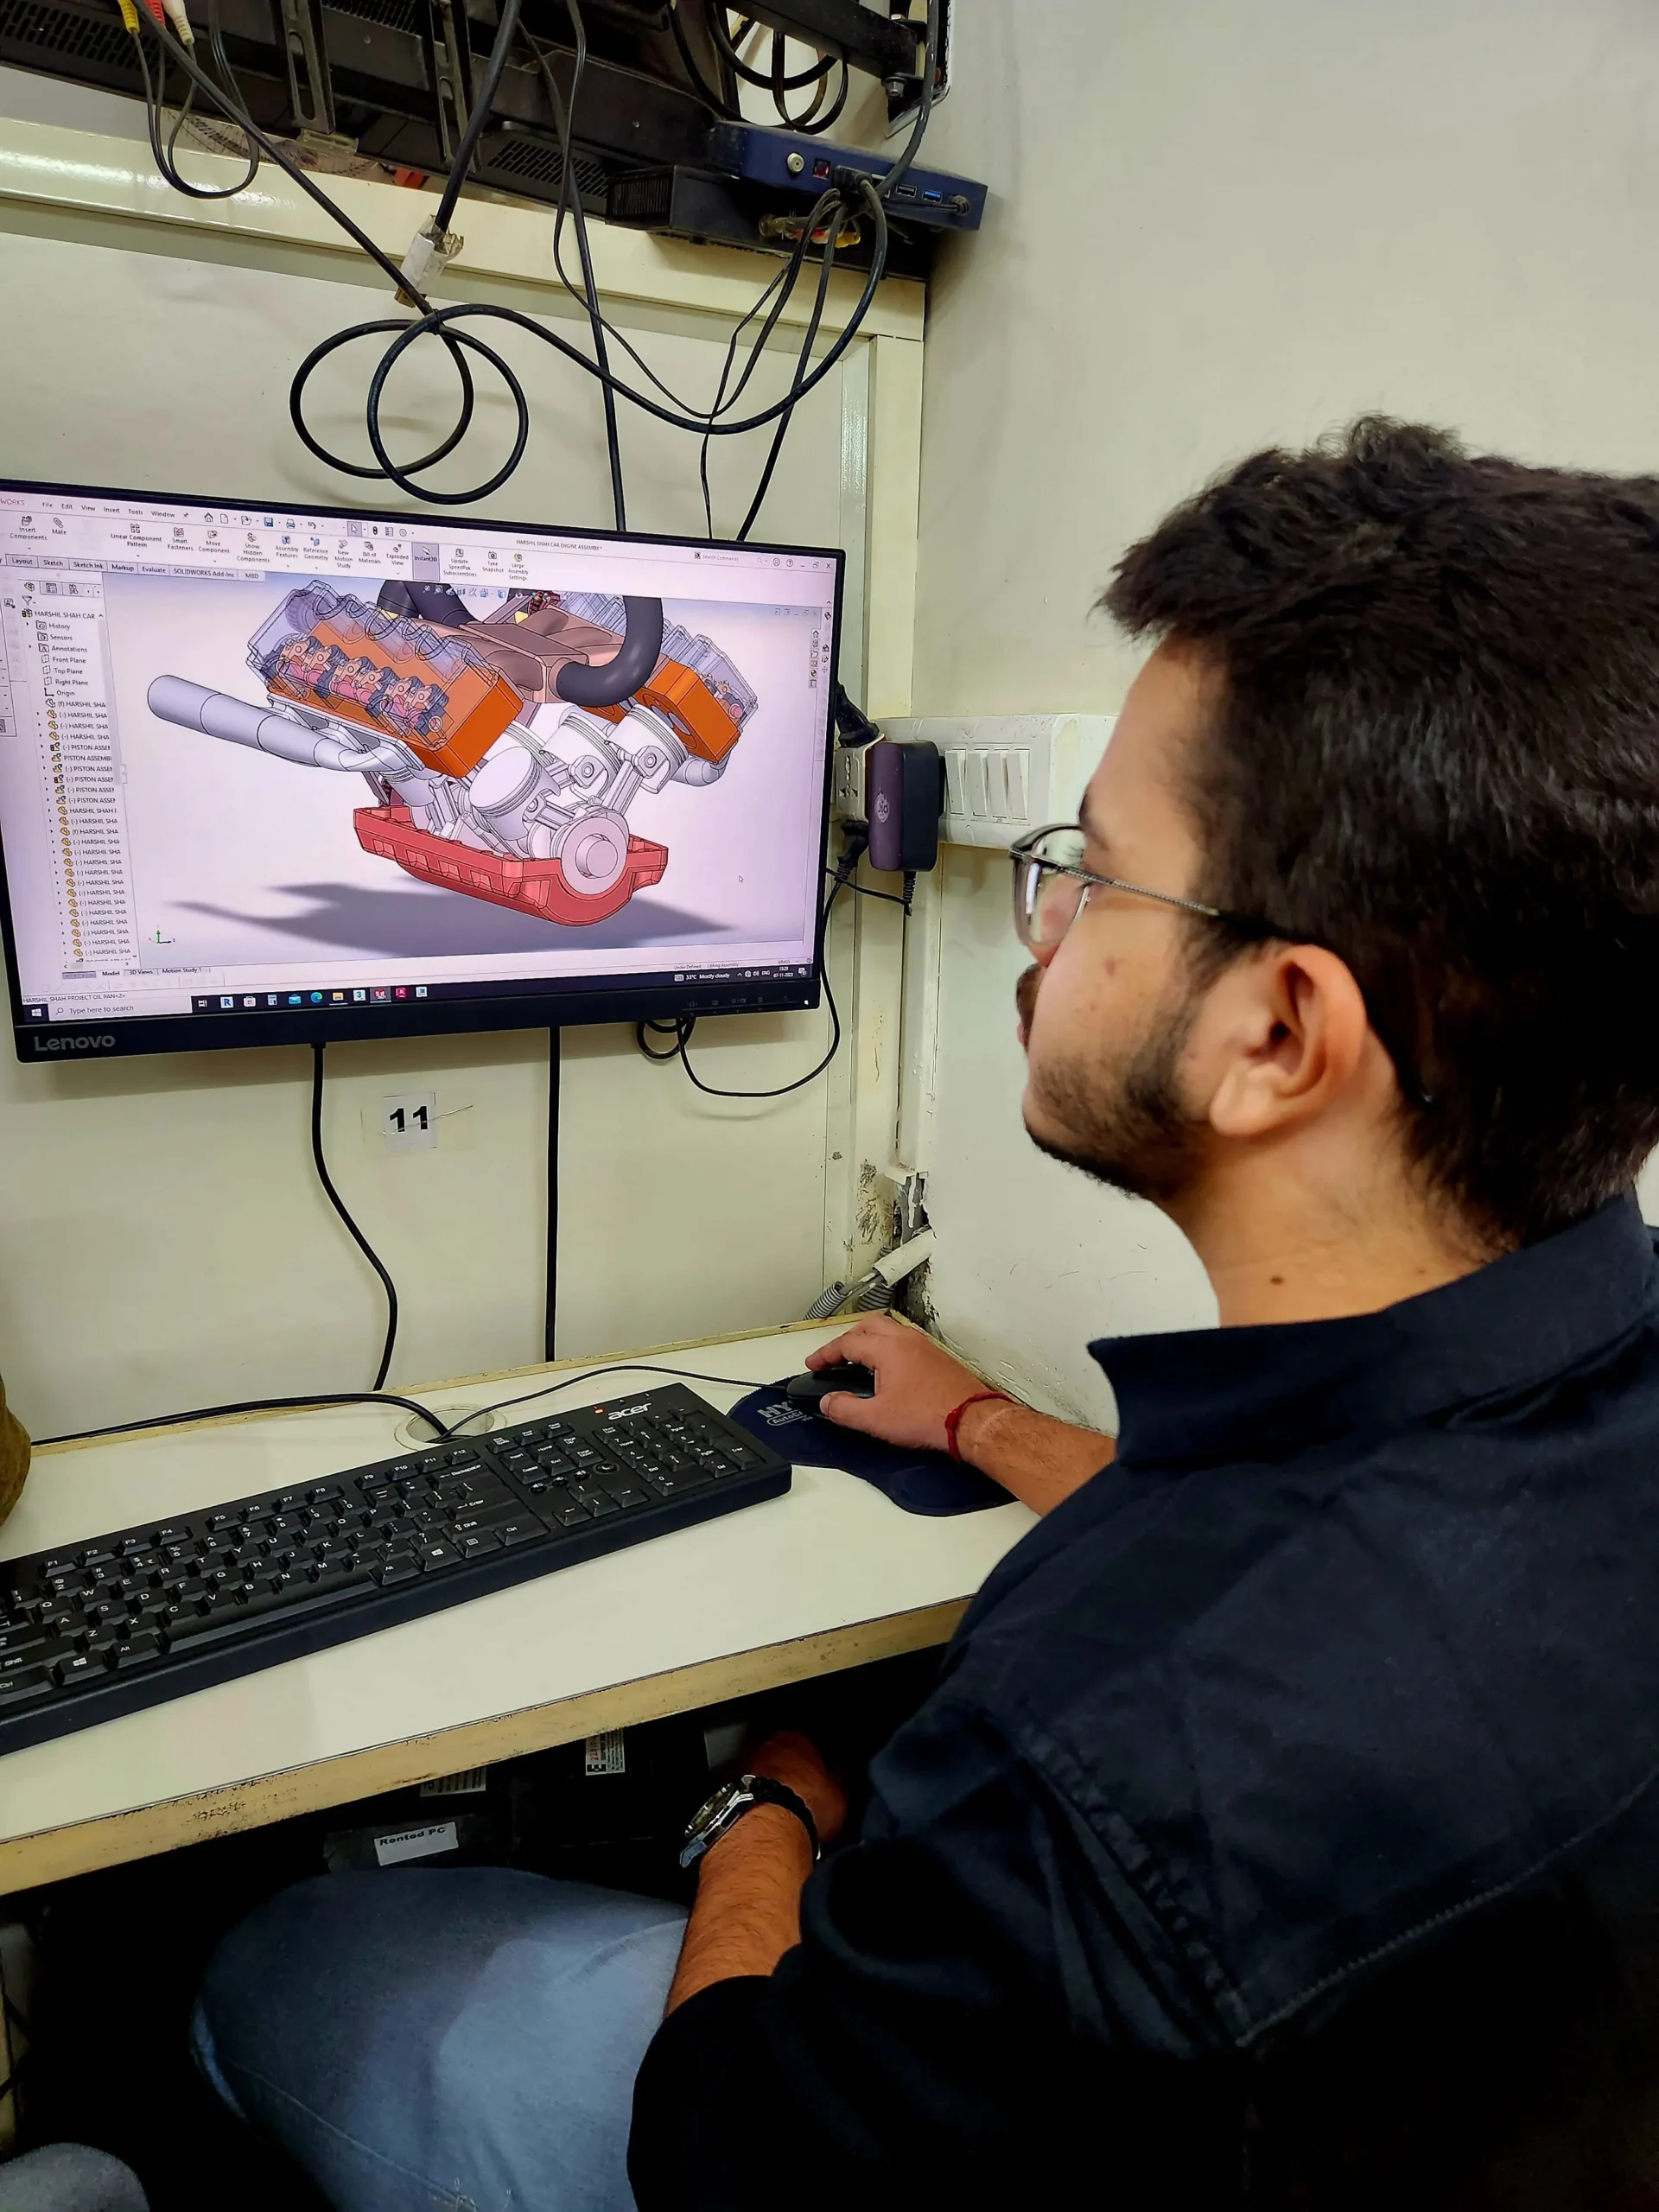
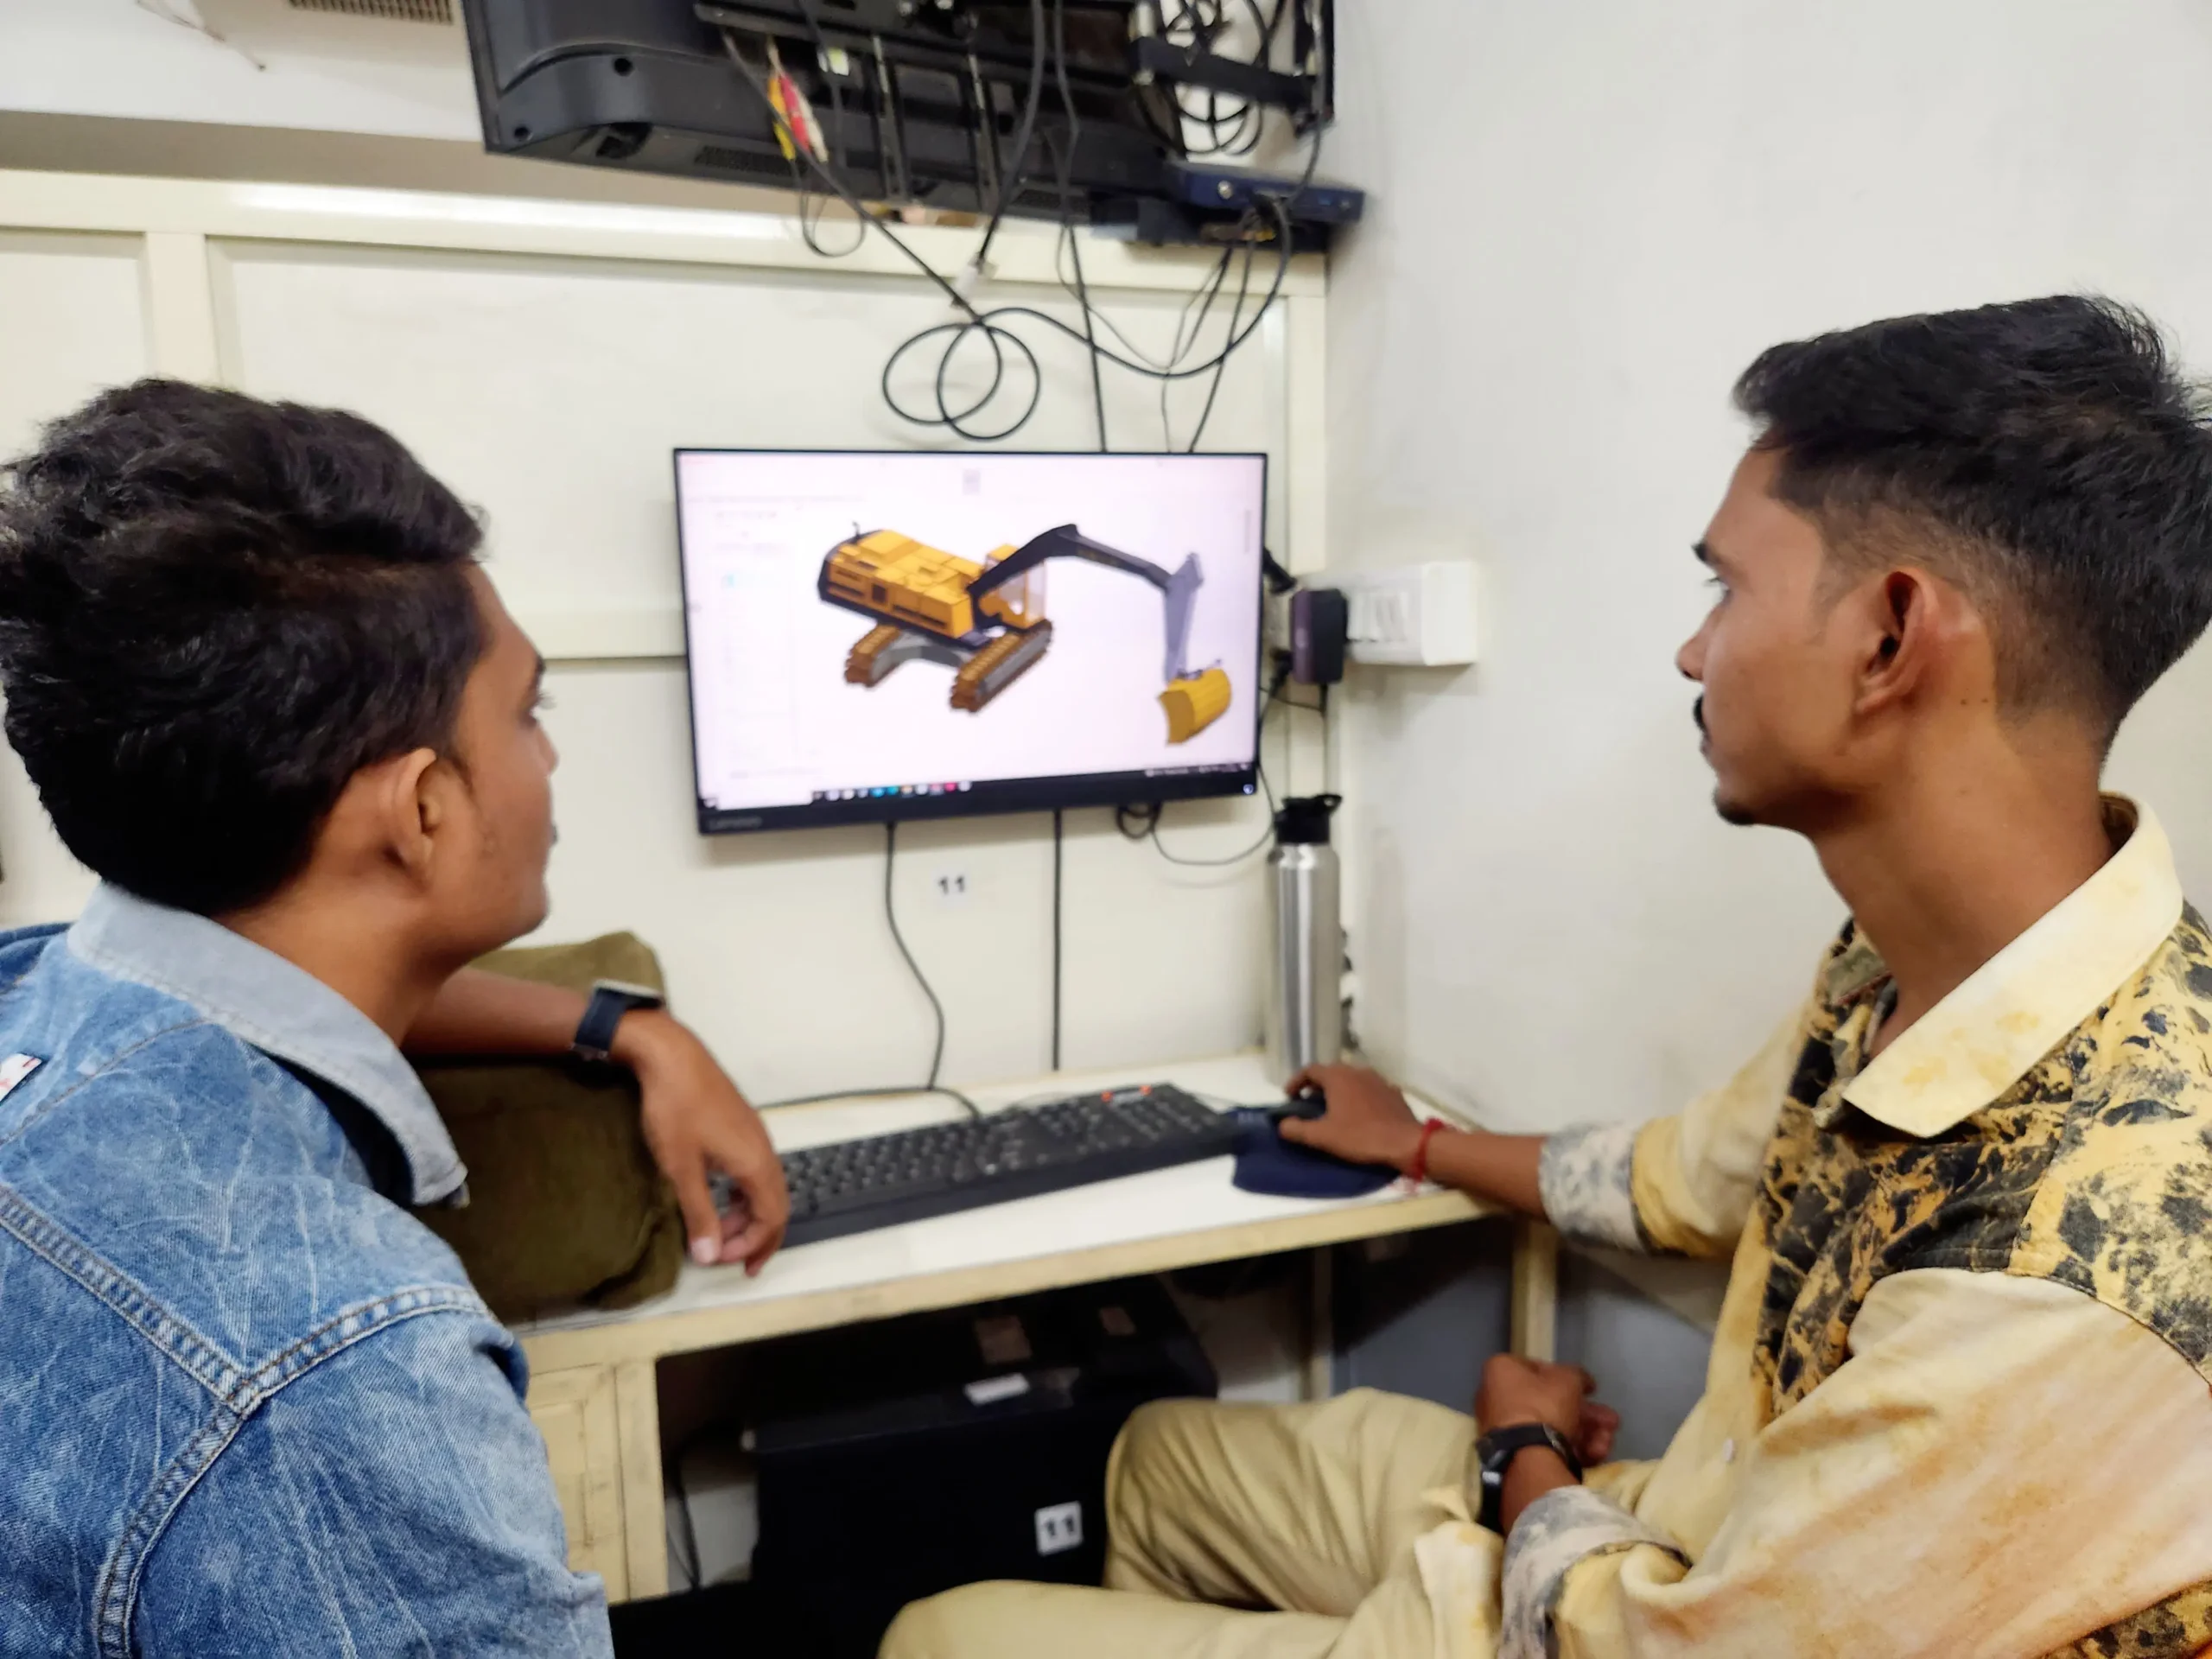
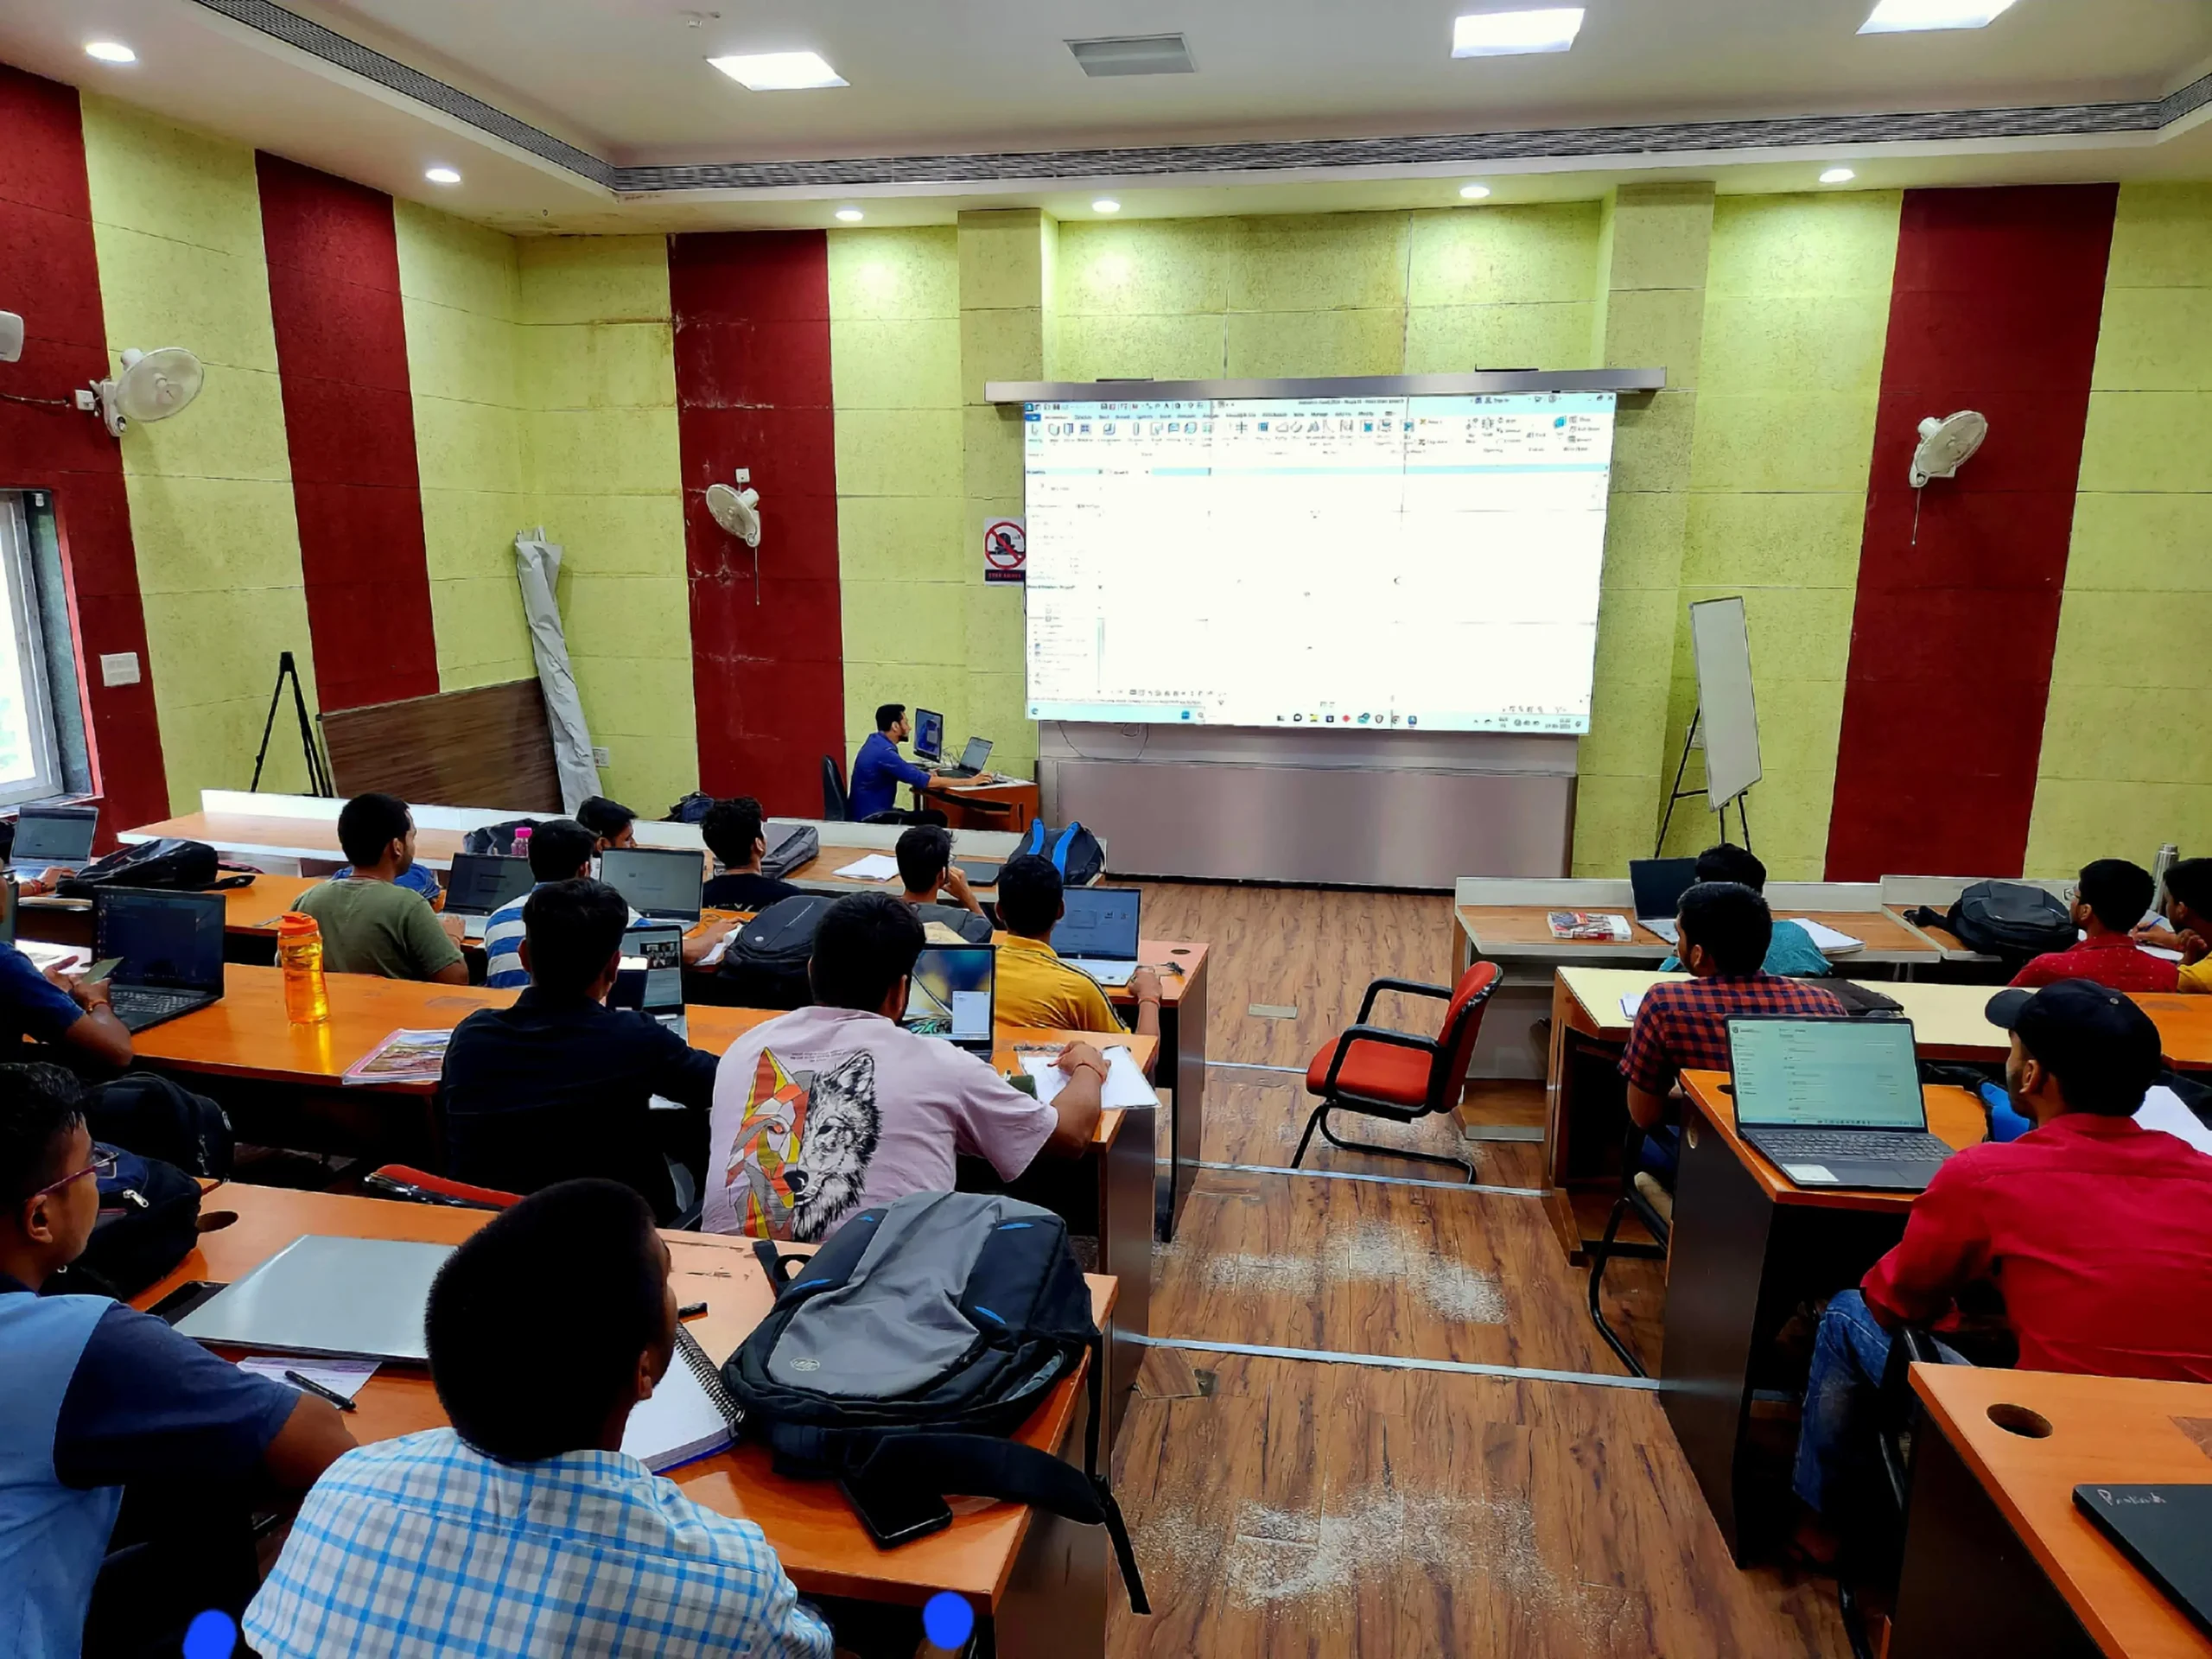
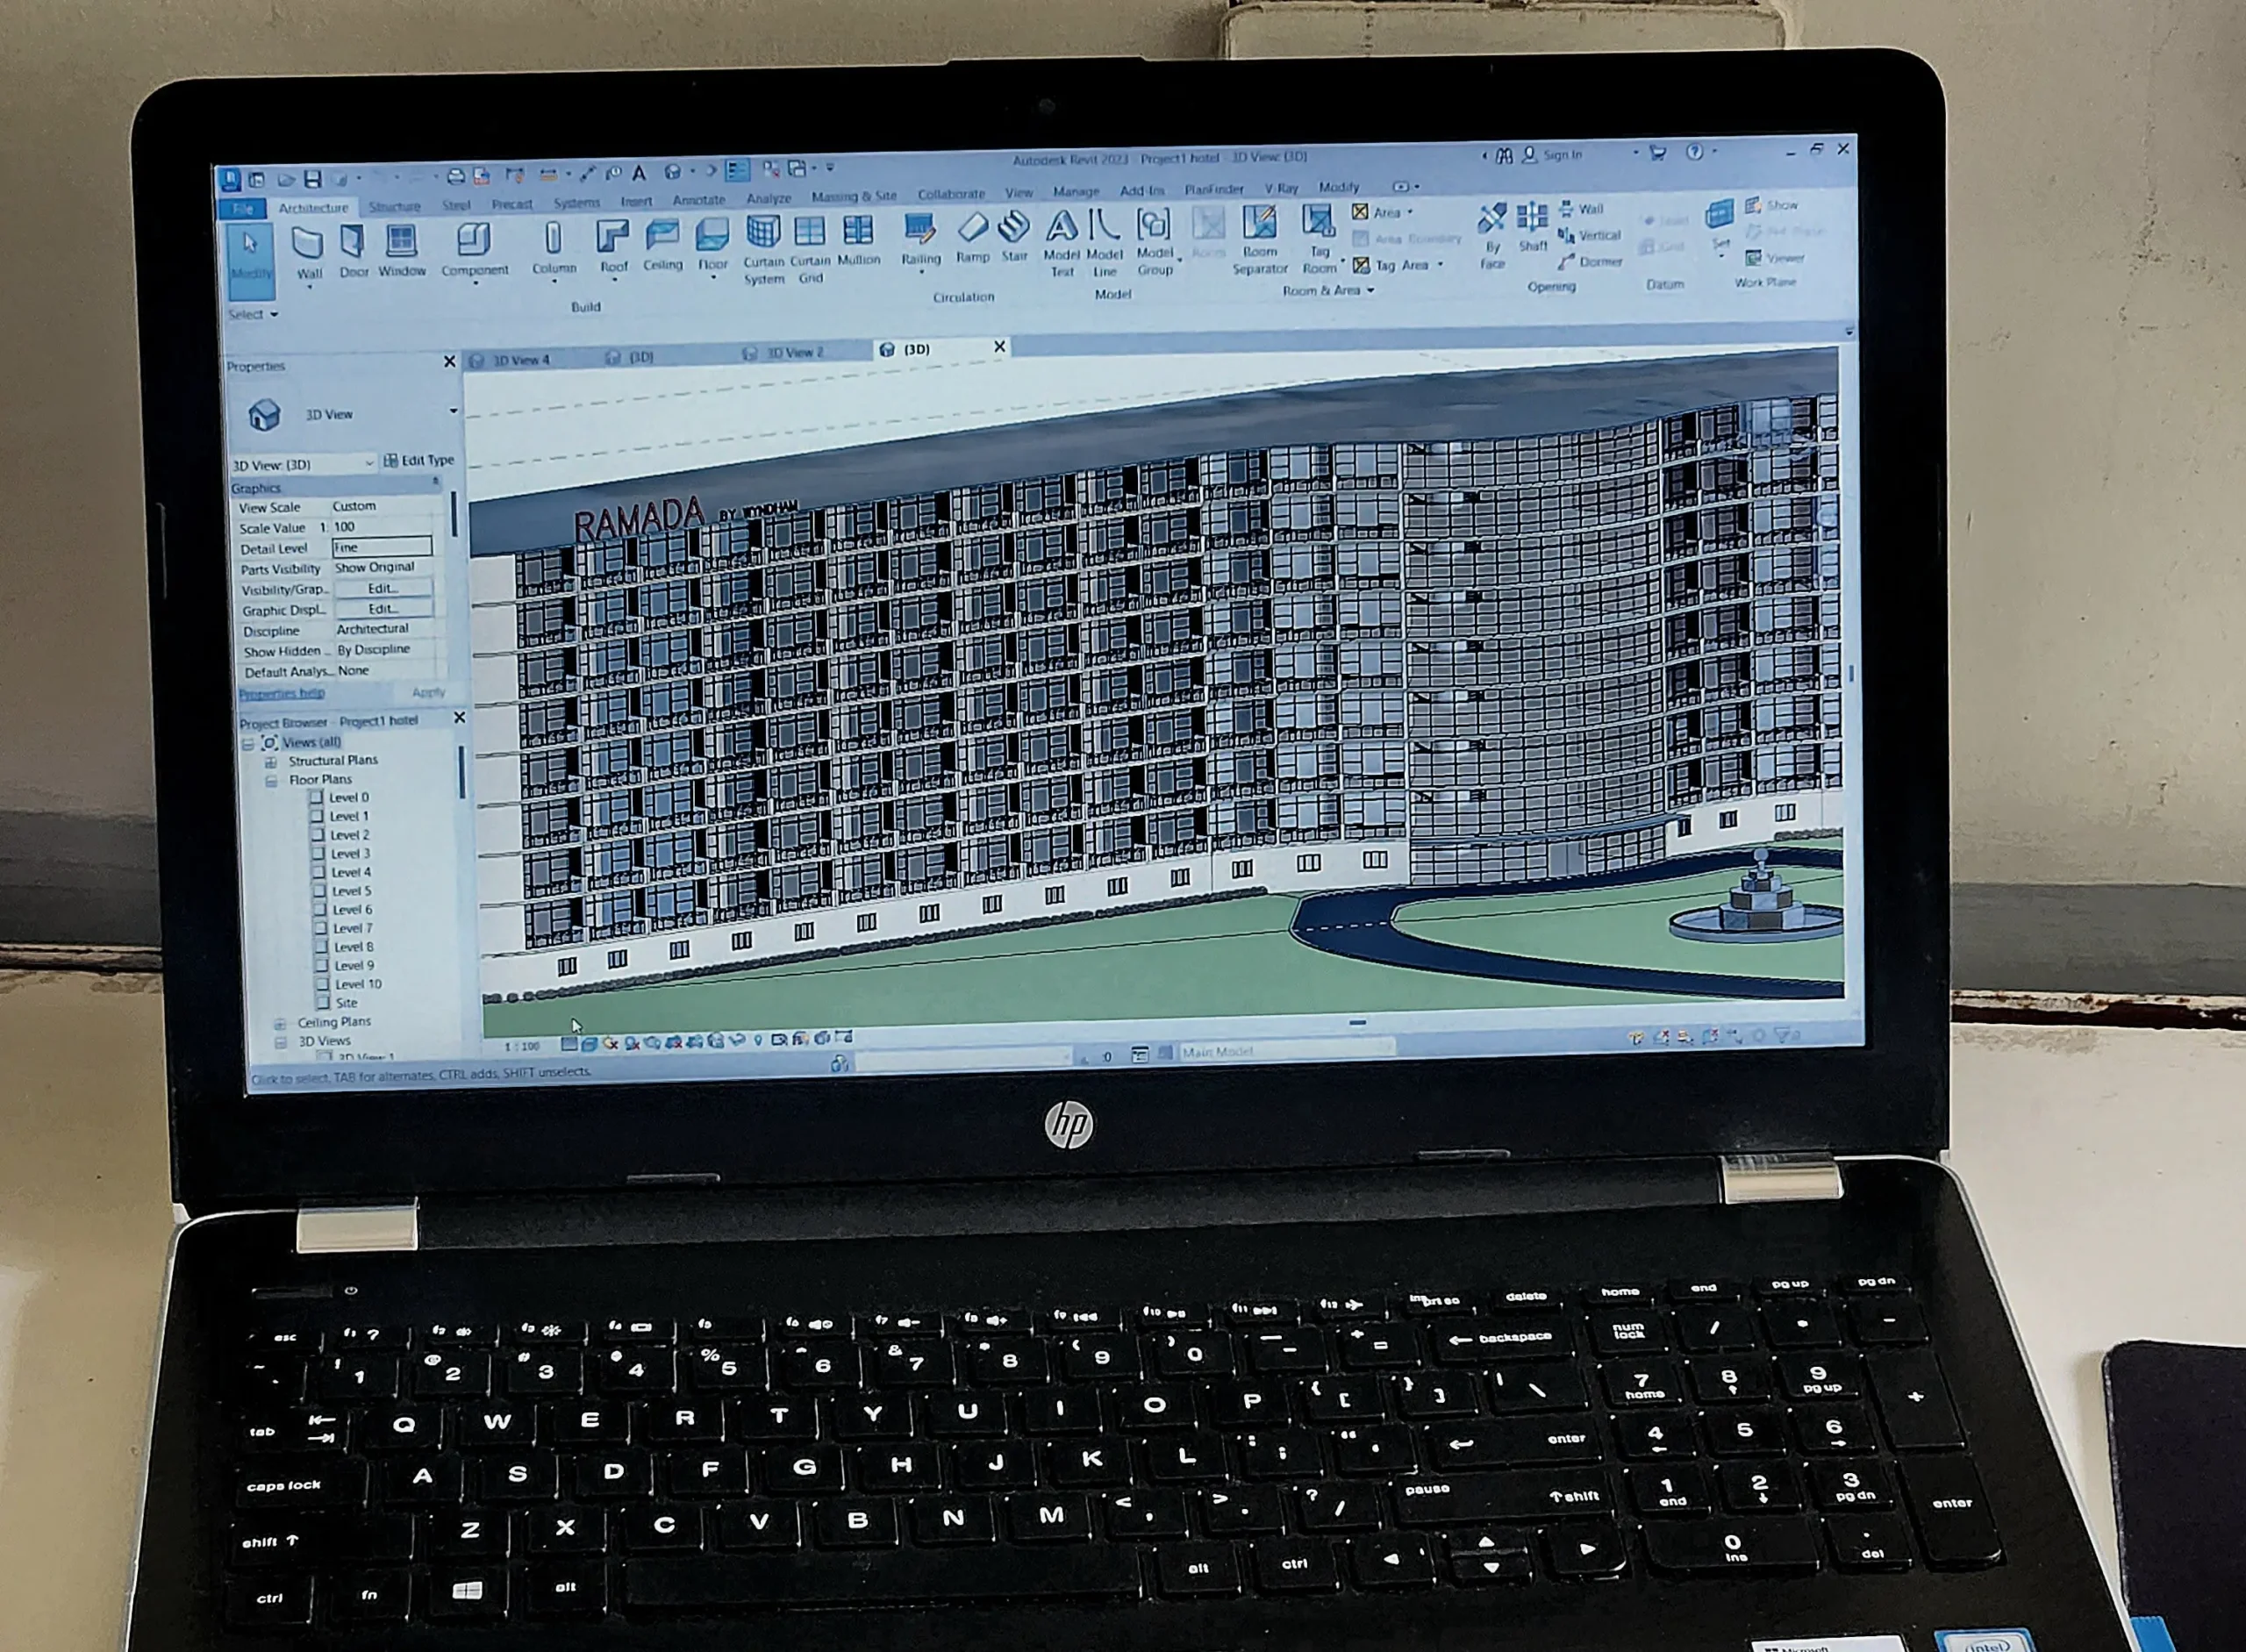
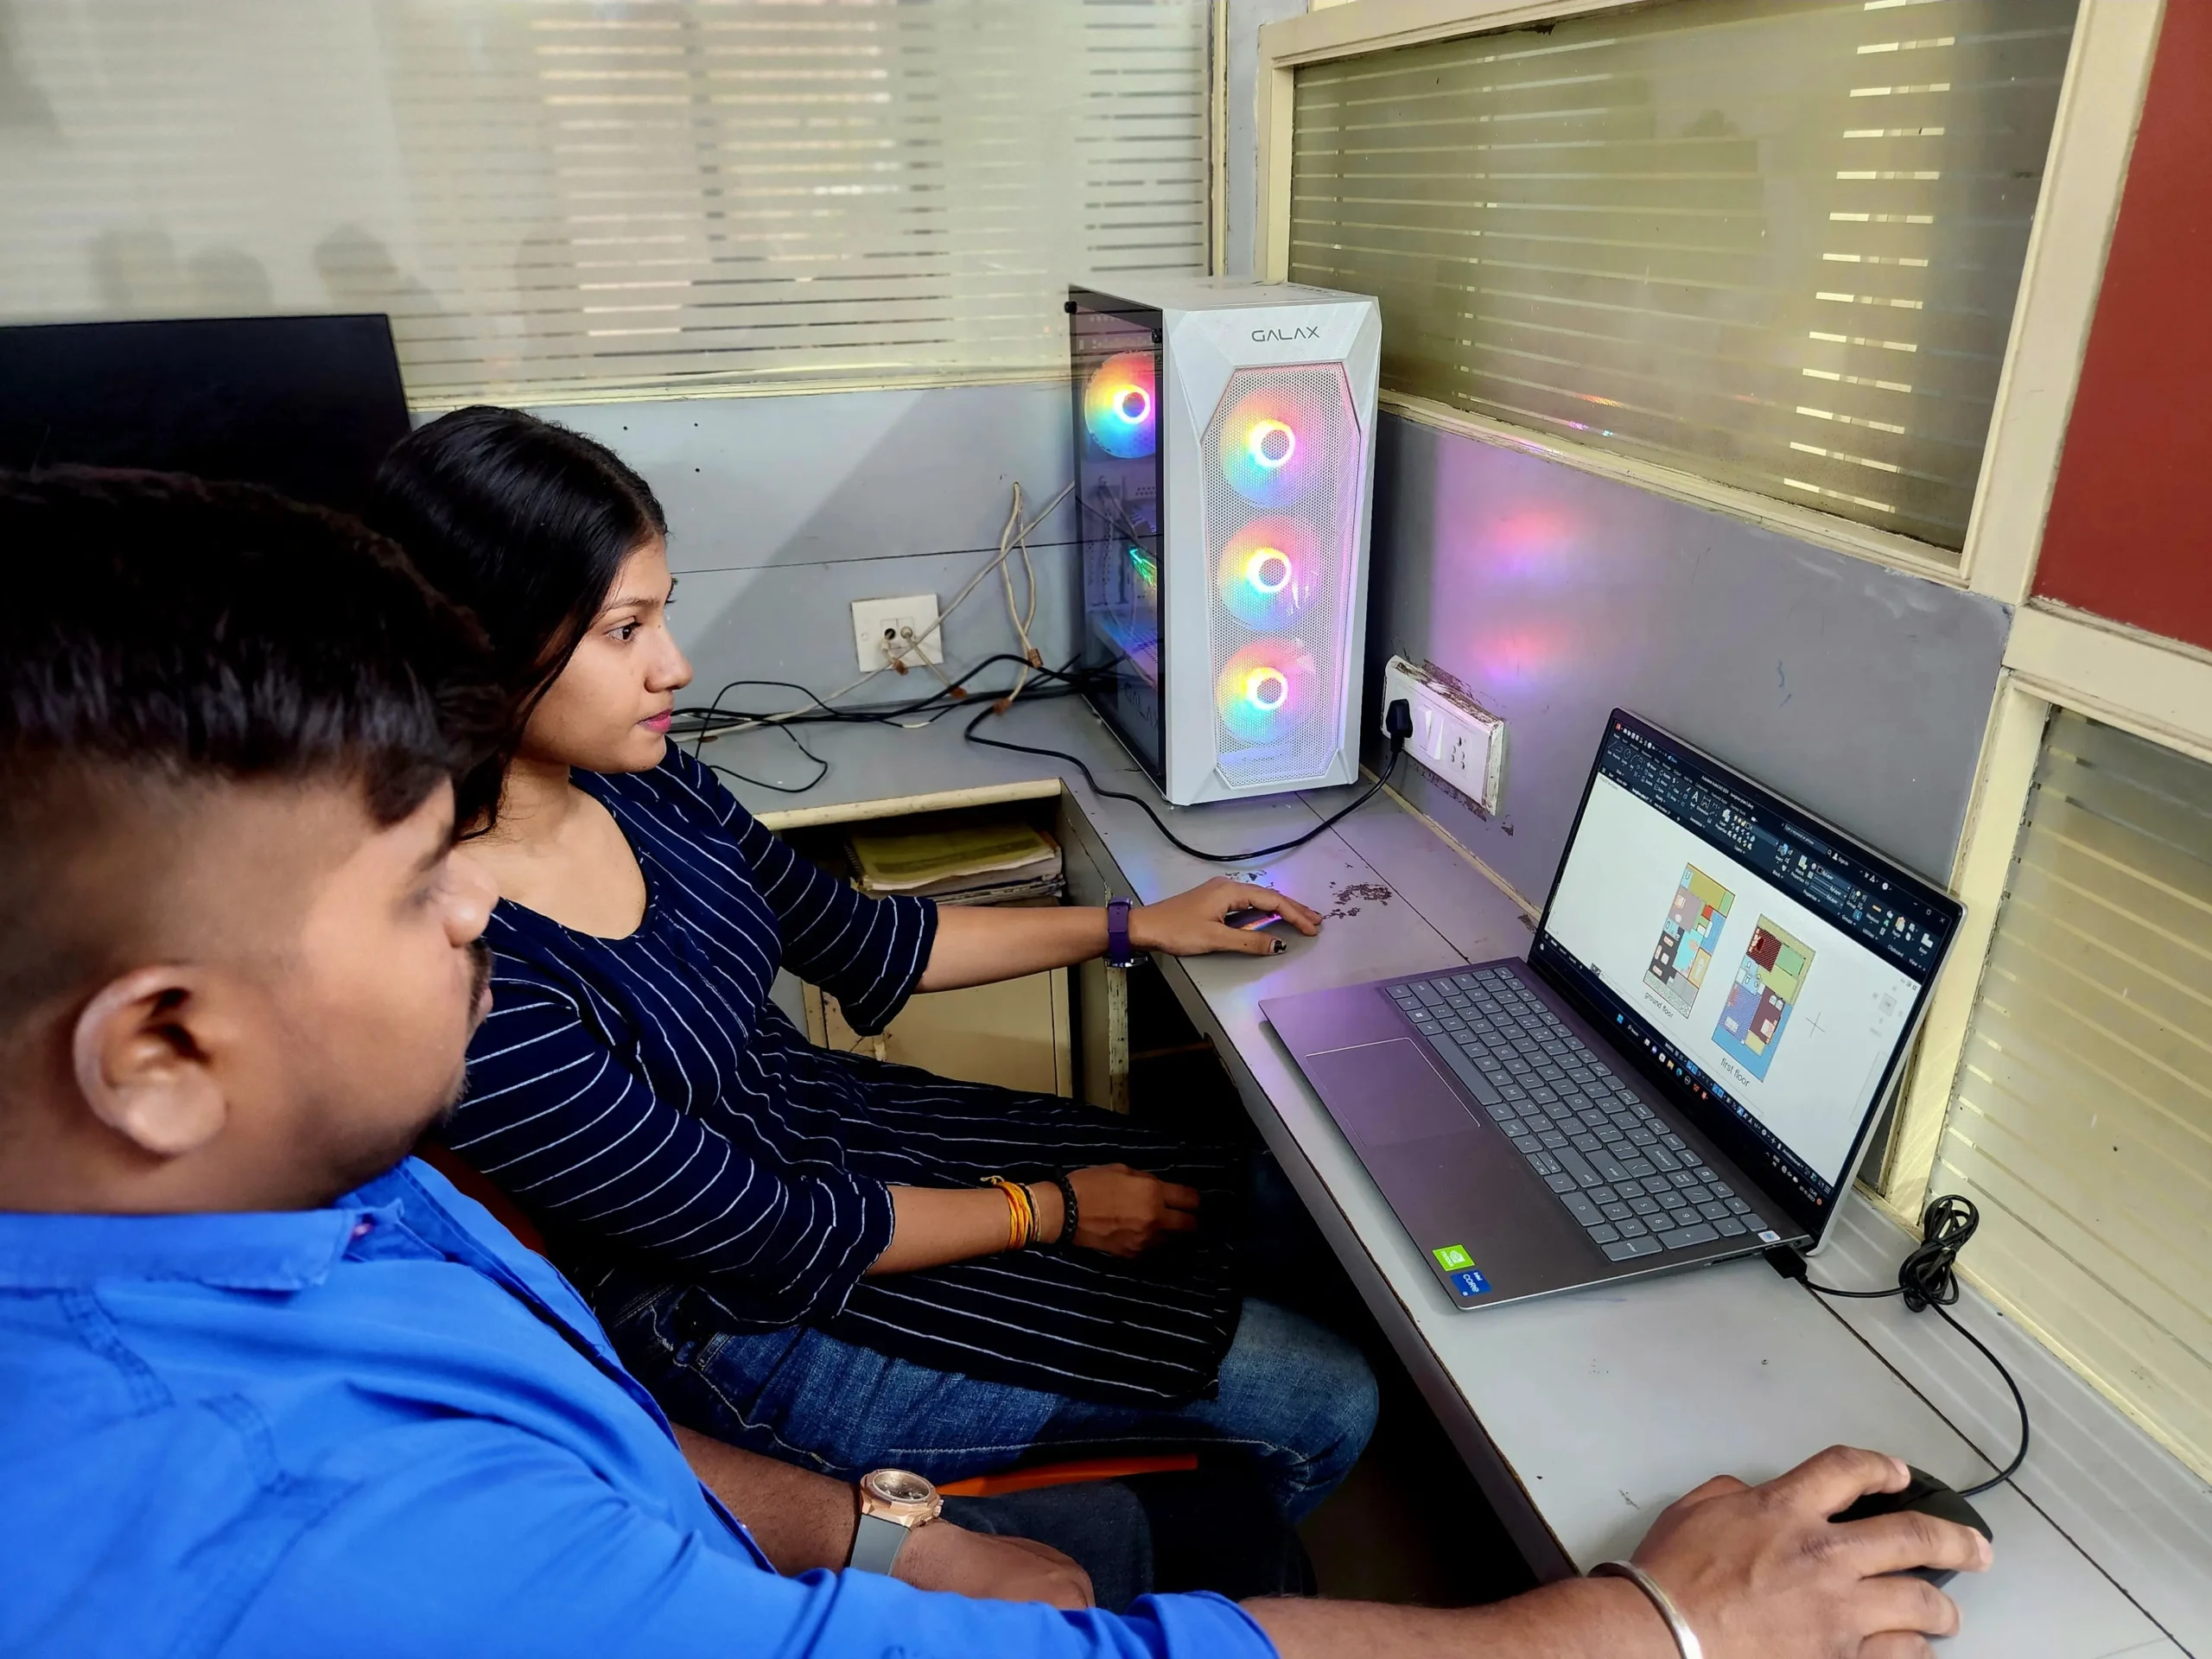
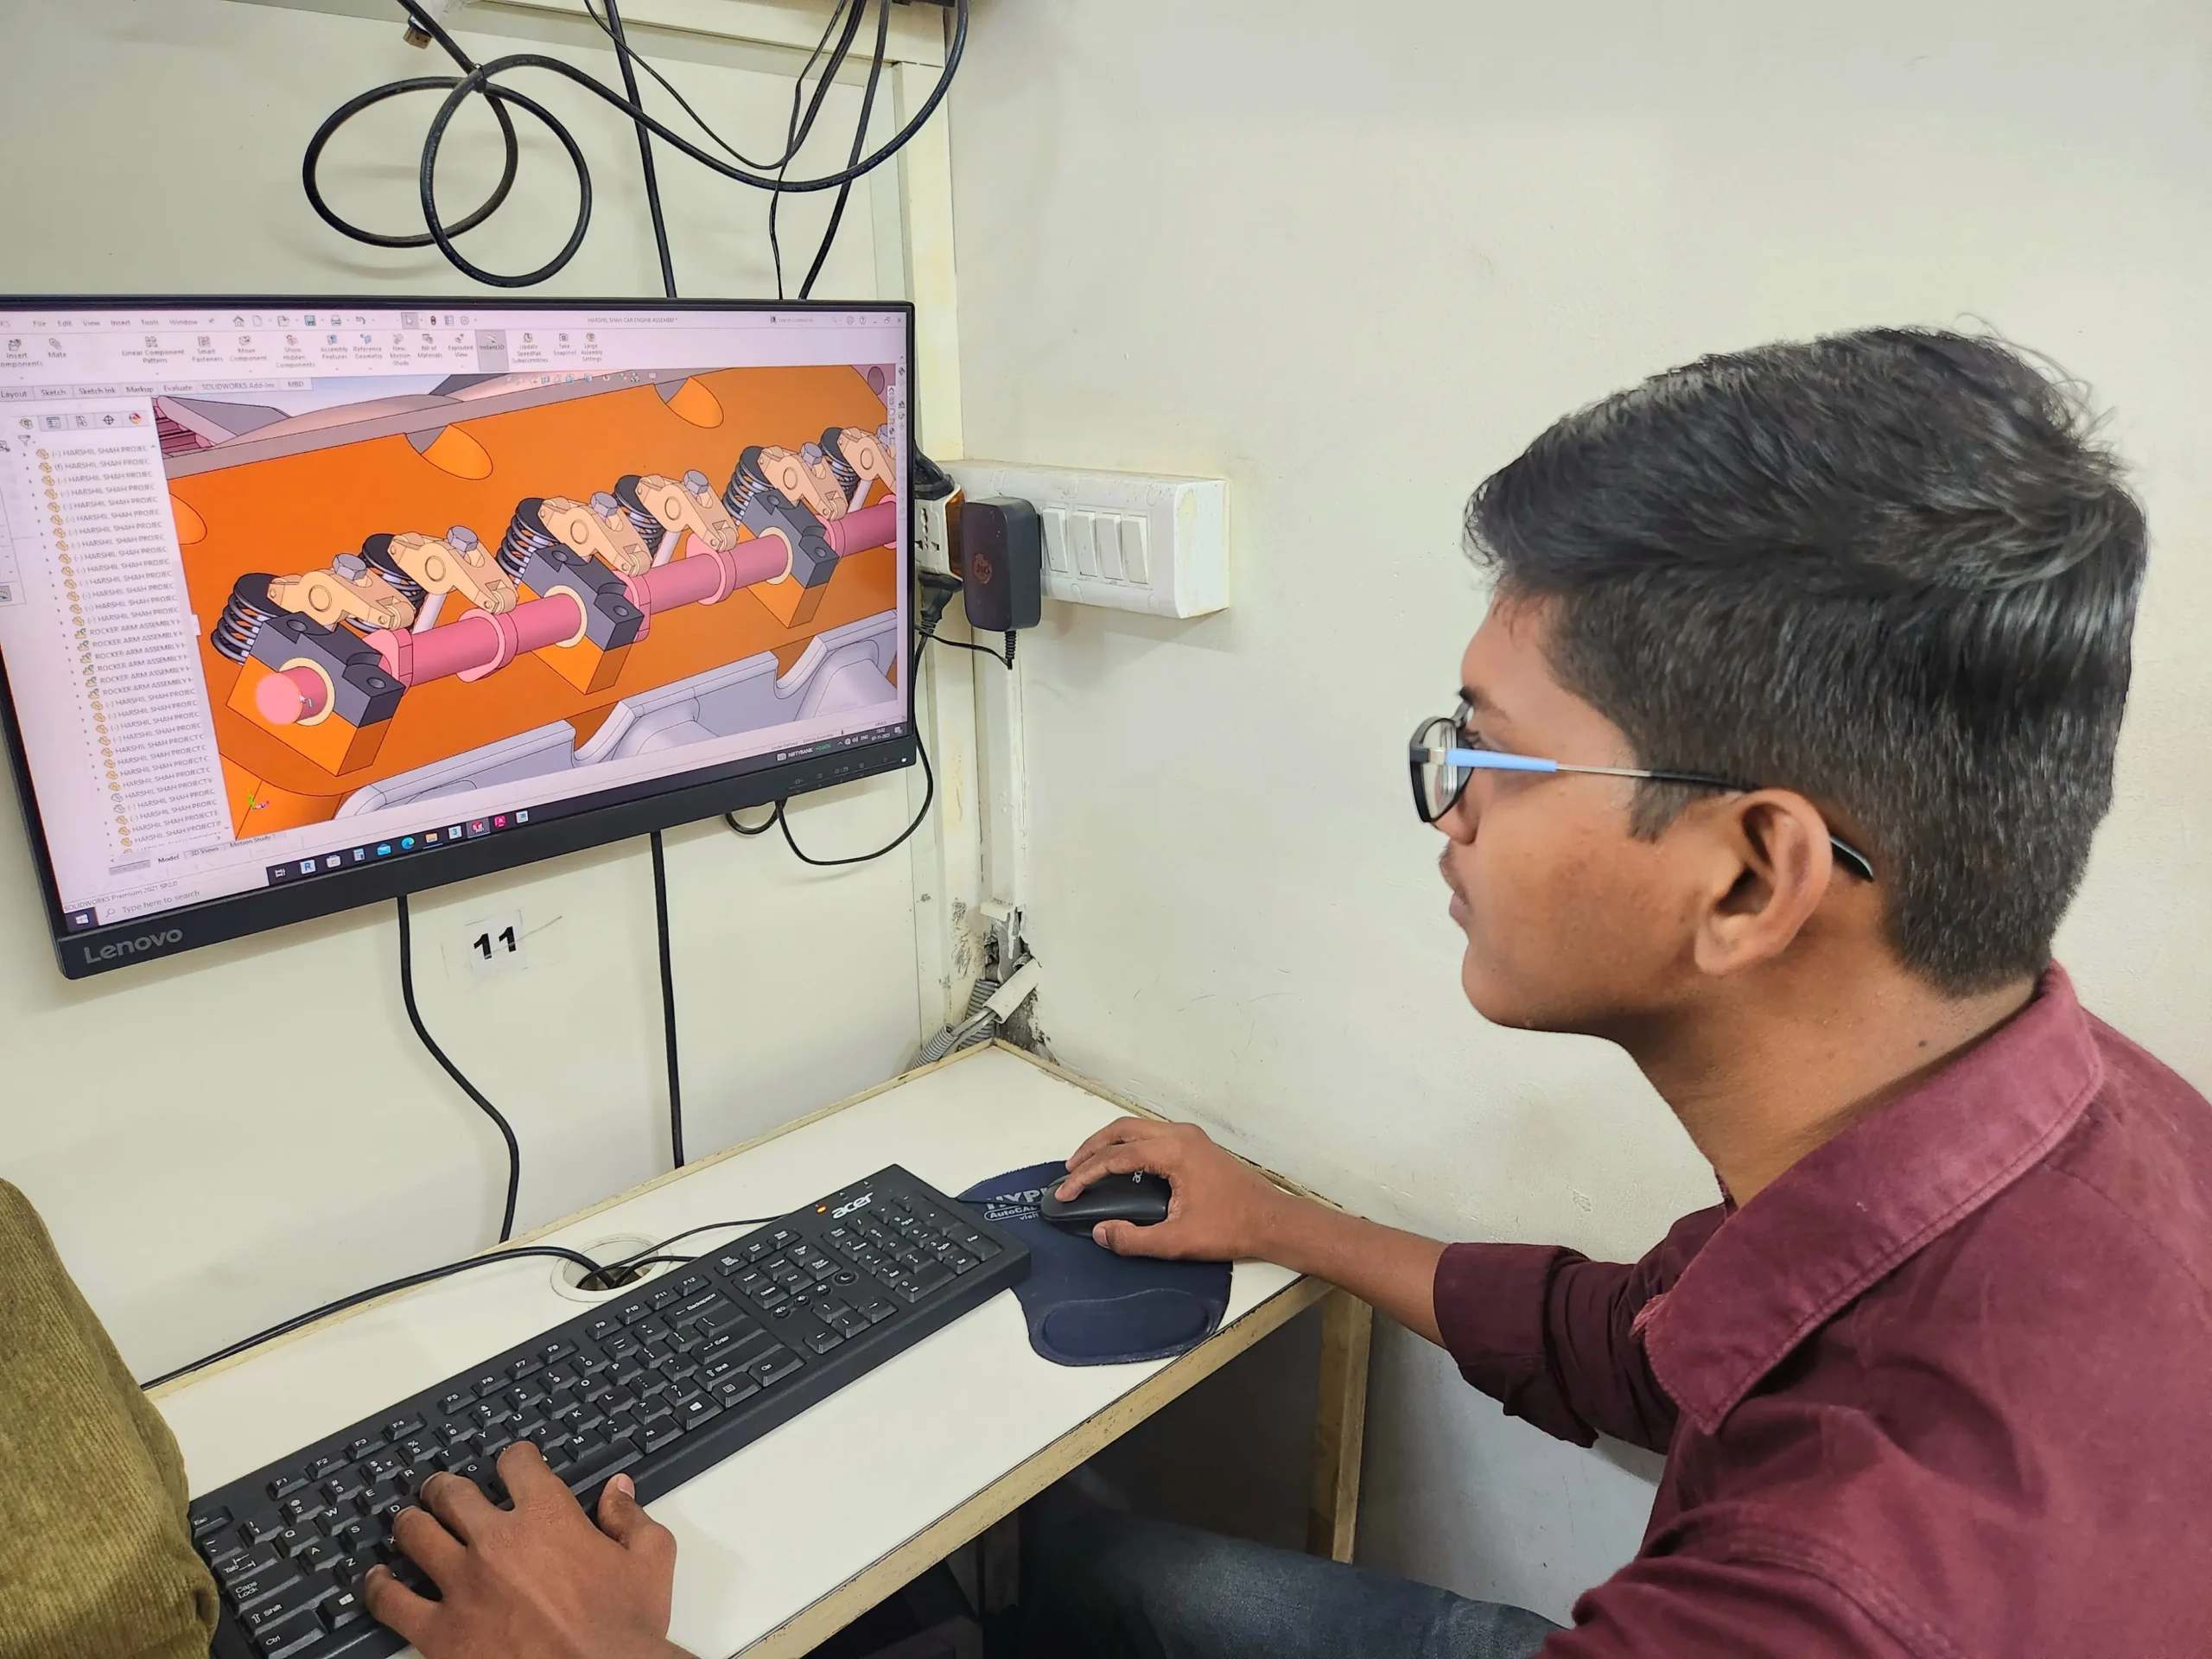
Hypersoft Sneak Peak
Sharing vibrant learning environment of our institute through photos of students’ learning experiences and trainers facilitating sessions.
Your Success, our goal
With extensive company partnerships, detailed training, and high student satisfaction, your future is in good hands.


Wire Harness Classes Students Work
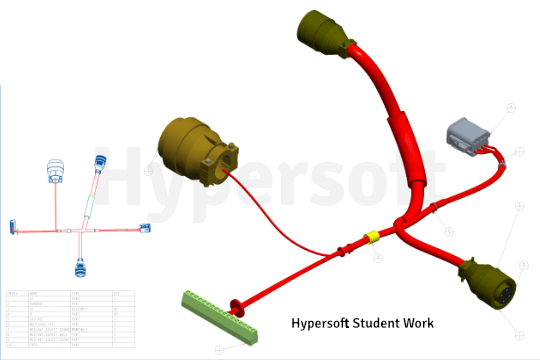
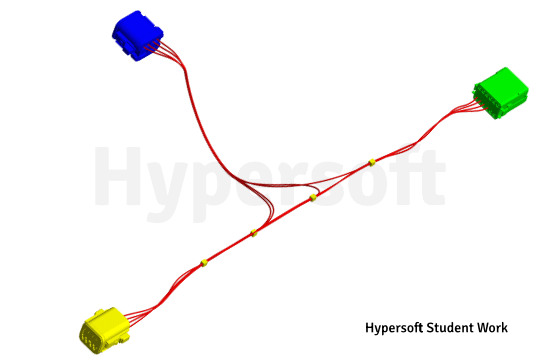

Hypersoft Leaners Succeed with Great Projects & Great Stories.
Explore Other Engineering Design Courses

E Plan Courses
📅 3 to 4 Months
🕑 2 hrs / Day
SolidWorks Course
📅 2-4 Months
🕑 2 hrs / Day
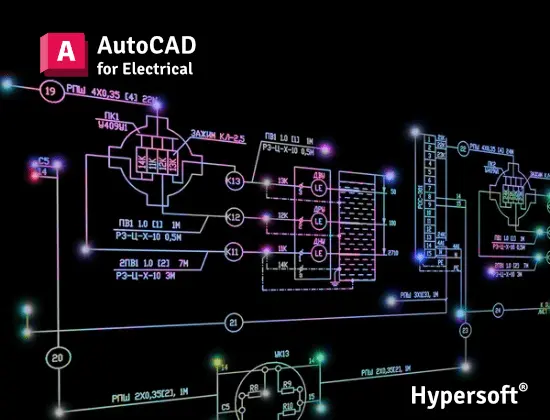
AutoCAD Electrical Courses
📅 2 Months
🕑 2 hrs / Day
Creo Course Help Desk & Student Support
What are the Wire harness course timings & Duration ?
Wire harness course batches start every Month:
1st Weekend of each month
Wire harness with Creo Professional Course
Duration: 25 weekends 📅
Hours per Weekend: 4 hours 🕓
To know about the new Wire harness with Creo batch timings, call us at 📞 94278 99997!
WhatWhat are the course fees for Wire harnessing training? are the course fees for Creo training?
Wire harnessing Course Fees:- Rs 34950/-
Note: Wire harnessing training, student training will be conducted on student laptops using the student version of the software. Corporate training will utilize company licenses
Wire harnessing classes are online or offline?
Is the Wire harnessing course being a certified course?
Yes🎉
You will be awarded an Creo Wire Harnessing international government-approved certification 🏅.
Certification requirements:
- Pass an online exam with a score of at least 50% 📝.
- Submit a project that demonstrates your skills 💻🔧.
Are there any Emi Options Available?
Yes❗
You can pay your Wire Harnessing fees in two installments.💼
Modes of Payment Accepted:
- Cash 💵
- UPI 📲
- Cheque 💰
- NEFT or IMPS 💻
Do you offer free demo classes for Creo Wire harnessing?
We offer 2 free demo classes for AutoCAD, where you can:
- Experience our teaching approach 👨🏫
- Check Your Interest: Are You Ready to Start Your Design Journey? 💡
What are the laptop specifications required to run Creo Wire harnessing?
To efficiently run Creo 8 or later versions, the minimum system requirements are:
- CPU: Intel Core i5 10th Gen or AMD Ryzen 5 5th Gen (or above)
- RAM: 16 GB
- Storage: 256 GB NVMe or SSD
These specifications are the bare minimum required to operate the software effectively.
If you are planning to buy a new System please refer:
Laptop Buying Guide for Engineering Designing.
From where can I download Creo software?
To download the software, please follow these steps:
1. Click here 🔗.
2. Register yourself add all details asked 📝.
3. Once confirmed, you’ll be able to download the software 💻.
You’re all set! 🎉
Note:- Students version file will not open in license Creo
Which websites should I avoid for Creo downloads?
Warning: Avoid downloading Creo from unauthorized websites like
- FileCR,
- GetIntoPC, and
- unverified Telegram sources.
These platforms often distribute counterfeit or harmful software that can put your device at risk. Always download PTC from trusted sources, such as the official PTC Creo, to ensure the software is safe and legitimate.
How much do Creo classes cost?
Wire Harnessing Training Costs: Typically range from Rs. 35,000 to Rs. 65,000 💸.
Key Factors to Consider Before Choosing a Training Institute:
- Reputation & Experience: Check how long the institute has been around and its expertise in Wire Harnessing.
- Learning Resources: Check if the course includes eBook, textbooks or any other material.
- Practice Exercises: Crucial for understanding the depth of knowledge you’ll gain and your readiness for real-world applications.
- Certification: Aim for certifications above ISO standards (ISO is a company standard, not meant for training certificates).
- Post-Training Support: Look for ongoing assistance after course completion.
- Job Placement Assistance: See if the institute offers career support or placement services after the course.
- Alumni Feedback: Look for reviews or testimonials from previous students to gauge the quality of the training.
Hypersoft meets all 7 key factors mentioned above while keeping fees affordable and accessible.
What happens if I don't attend classes regularly?
If you miss more than 5 classes without written leave, your admission may be suspended.
You’ll be required to pay a re-activation fee of Rs. 500 or more.
Additionally, you won’t be able to attend makeup classes for the missed lectures 📚, and you may not be eligible to apply to top companies through Hypersoft Placement 💼.
Stay Regular & take written leave from trainer to gain maximum benefit of your learning journey! ✅
I was not able to attend a session. Will i get a refund for it?
Our refund window is open for 5 days from the date of admission.
However, for your convenience, you can reschedule your enrollment to another batch with a minimal transfer fee. 😊🔄
Will I get a job after completing the Creo Wire harnessing course at Hypersoft?
Yes🙌
Hypersoft provides comprehensive job placement support through JobKart, our dedicated placement portal 💼.
With over 25 years of industry connections 🤝, we regularly receive job openings from top companies.
After you join, you’ll be added to the Hypersoft Placement Group 👥 for direct job updates and career assistance.
With our strong network and placement services, you’ll be well-prepared to land a job after completing your training 🚀.
What are the benefits of learning Wire harnessing in Vadodara?
- Enhanced employability with a skill highly sought after in industries like engineering, and manufacturing 🏗️🏭.
- Entry into white-collar job sectors where AutoCAD expertise is often a prerequisite for roles in design, engineering, and project management 💼🛠️.
- Career growth and higher salary potential in companies that value AutoCAD proficiency 📈💰.
What if I leave the class and want to complete it later or require a certificate?
If you take a break of more than 15 days without written leave.
A reactivation fee of ₹2,500 will be required ⚠️.
if you missed your exam you’ll need to pay an exam fee of ₹2,000 📜💰To get a certificate later.
Exams are conducted within 10-12 days after the course duration, or earlier if required.
How can I find Best Creo Wire harnessing classes in Vadodara?
- Google “Creo Wire harnessing classes in Vadodara” 🌐, read reviews ⭐, and visit the top-rated institutes. Hypersoft is the top-rated institute in Vadodara with 25+ years of expertise 🏅.
- Check the brand value of the institute 🔍. Institutes with a strong brand value tend to have better credibility and higher placement rates 📈.
- Also, ask friends 👥, seniors 🎓, or faculty 👨🏫 for recommendations.
What happens if I am unable to complete the course within given time?
If you are unable to complete the course within the given duration, don’t worry—we offer an extended time of 1.5 times the original duration to complete the course. 🕒
For example, if your course duration is 60 days, you can complete it in 90 days. 🗓️
After receiving your certification, you’ll become a valued member of the Hypersoft alumni network & you will get
- doubt resolution +
- revision assistance +
- access to premium masterclasses +
- placement 🎓😃🎉
All free of charge for a lifetime! 😲