3-4 Months
2 hrs./day
Eplan Classes in Vadodara
Take Your Engineering Career to the Next Level with Best EPLAN Training Center in Vadodara
Our students work at well-known companies


About Eplan Classes in Vadodara
1. What is Eplan?
EPLAN is a software tool that helps engineers design and document electrical systems. It allows users to create detailed drawings that show how electrical components are connected and organized.
Key Functions of EPLAN:
- Electrical Schematics:
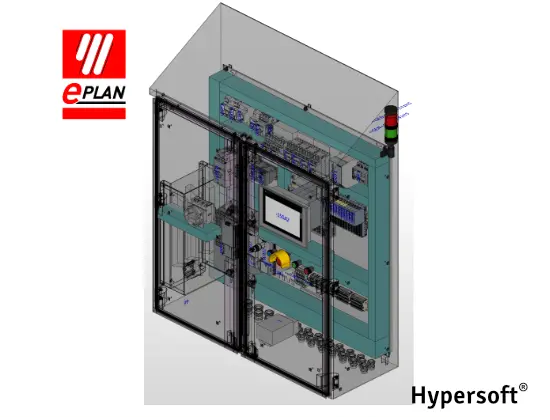
EPLAN enables engineers to draw electrical schematics, which are visual representations of how electrical circuits are arranged. These diagrams help in understanding the flow of electricity and how different components interact. - Panel Layouts:
The software allows users to design layouts for control panels. These panels house various electrical components, and EPLAN helps ensure that everything fits properly and is organized for easy access and maintenance. - Wiring Diagrams:
EPLAN helps create wiring diagrams that illustrate how wires connect different components within a system. These diagrams are essential for installation and troubleshooting, ensuring that everything is connected correctly. - Efficient Documentation:
EPLAN not only focuses on design but also automates the creation of important documents, such as bills of materials (BOMs) and reports. This feature saves time and reduces the chances of mistakes, making it easier for engineers to manage their projects.
Overall, EPLAN streamlines the process of designing electrical systems, making it easier for engineers to create accurate and comprehensive plans that meet industry standards.
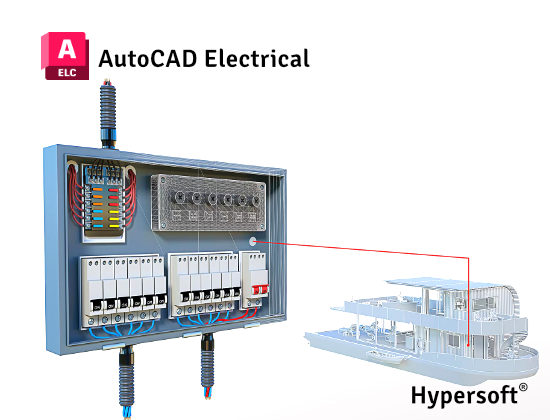
2. Difference Between Eplan and AutoCAD Electrical
Purpose:
- EPLAN: Specialized for electrical engineering and automation.
- AutoCAD Electrical: A version of AutoCAD focused on electrical design and general drafting.
Automation:
- EPLAN: Offers advanced automation for documentation (e.g., BOMs, reports).
- AutoCAD Electrical: Provides some automation for reports and BOMs, but is less extensive.
Symbol Libraries:
- EPLAN: More extensive symbol libraries for electrical components.
- AutoCAD Electrical: Less extensive symbol libraries compared to EPLAN.
Pricing:
- EPLAN: Generally higher in cost.
- AutoCAD Electrical: More affordable compared to EPLAN.
3. Should You Learn Eplan or AutoCAD Electrical?
- Job Opportunities in Vadodara:
- EPLAN has more job options available in Vadodara, particularly in companies focused on electrical and automation projects.
- Industry Preference:
- Some older and reputed companies still use AutoCAD Electrical due to its long-standing association with Autodesk, which lends credibility and familiarity.
- Technical Features:
- EPLAN offers more advanced features, especially in 3D design, making it a better choice for projects requiring detailed electrical engineering and automation.
- Similar function Skills:
- Both software programs are similar in functionality. If you master one, you’ll find it easier to learn the other, as over 40% of the skills and concepts will overlap.
4. What opportunities are available after learning Eplan?
Electrical Design Engineer:
- Work on designing electrical systems, including schematics, panel layouts, and wiring diagrams for various industries.
Automation Engineer:
- Focus on automation projects, using EPLAN to create and document control systems and integrate them with other technologies.
Project Manager:
- Oversee electrical engineering projects, utilizing EPLAN for efficient planning, documentation, and communication among teams.
Control Panel Engineer:
- Specialize in designing and implementing control systems for manufacturing processes, ensuring efficiency and reliability.
Technical Support Specialist:
- Provide support for EPLAN users, troubleshooting issues and helping companies optimize their use of the software.
Consultant:
- Offer expertise to companies looking to implement or improve their electrical design processes using EPLAN.
Freelance Designer:
- Work as a freelancer, providing EPLAN design services for various clients and projects across different industries.
5. Who can learn Eplan course?
- ITI, Diploma, Bachelor’s, or Master’s Students in Electrical, Instrumentation, and Control Engineering
Students pursuing technical education in electrical and related fields can gain hands-on skills in electrical design, preparing them for careers in control systems, panel layout, and circuit design. - Engineers and Technicians Transitioning to Electrical Design Roles
Electrical, mechanical, and instrumentation engineers, as well as quality and production engineers, who want to transition into electrical design or seek promotions can benefit from the specialized skills provided by AutoCAD Electrical. - Professionals in the Construction, MEP, and Power Distribution Industries
Those working in fields like MEP engineering, construction management, or site engineering can use AutoCAD Electrical to improve electrical planning, coordination, and schematic accuracy on projects. - Entrepreneurs and Small Business Owners in Electrical Services
For individuals planning to start their own businesses or provide electrical services, AutoCAD Electrical equips them to create detailed electrical designs and control layouts, enhancing project planning and execution. - Anyone Interested in Electrical Design or Control Systems
Enthusiasts or career changers with an interest in electrical systems, sustainable energy solutions, or control design can use AutoCAD Electrical to develop foundational skills in electrical drafting and automation. - Students and Professionals Seeking International Opportunities
Those planning to move abroad for studies or jobs can greatly benefit from an Autodesk certification in AutoCAD Electrical, as it’s widely recognized in the industry and valued by employers globally.
This course includes:
- From Zero to Advance Level training
- Courses Content Crafted by industry experts.
- Theory & Practice Book
- Personalized Doubts Solving
- Post Training Support
- Placement Assistance
What You’ll Learn in Eplan Training at Hypersoft
1. Project and Page Management in EPLAN
- Project Setup and Management
Project Detail: Overview of key project details and organization in EPLAN.
Schematic Projects: Understanding schematic projects and their role in electrical design.
Project Actions (Open, Copy, Rename): Steps to open, copy, and rename projects, making project management efficient.
- New Page and Page Types
Creating a New Page: Steps to create a new page in EPLAN for organized project structure.
Page Types: Explanation of different page types available in EPLAN, tailored for various design needs.
- Page Properties and Plot Frames
Setting Page Properties: Customizing properties like title, numbering, and orientation for each page.
Page Plot Frame: Configuring plot frames to ensure accurate printing and presentation.
- Importing DXF Files
DXF Import: How to import DXF files to integrate external drawings directly into the EPLAN project.
- Viewing and Workspace Setup
View and Workbook Management: Managing views and using the workbook feature for easy project navigation.
Workspace Configuration: Setting up a personalized workspace to improve workflow efficiency.
2. Working with Symbols and Connections
- Symbols and Libraries
Symbols: Introduction to symbols used in EPLAN and their importance in schematic design.
Symbols Insert from Library: Instructions on how to insert symbols from EPLAN’s extensive symbol libraries to streamline design.
Symbol Properties: Overview of configuring symbol properties to match project requirements.
Function Data of Symbols: Explanation of how to assign function data to symbols for detailed documentation and functionality.
- Parts and Connections
Select Part from Part Database: Steps for selecting parts from the EPLAN database, ensuring accurate component specifications.
Wiring Angle (Types of Connections): Overview of various wiring angles and types of connections for precise schematics.
Insert Cables: Guide on inserting cables into the design to connect different components accurately.
- Grid and Alignment
Grids: Introduction to grid setup for structured and consistent design layout.
Snap on Grids: Using the snap-on grid feature to align symbols and connections precisely.
Align on Grid: Techniques for aligning elements on the grid to maintain a clean layout.
- Connection and Grouping Tools
Smart Connection: Steps to use smart connections for efficient wiring and connections.
Group/Ungroup: Methods to group and ungroup components for organized management within the schematic.
Bring Front/Back: Instructions for arranging elements in front or back to manage the visibility and layering of components.
3. Graphics and Object Management
- Creating and Managing Graphics
Graphics (Rectangle, Circle, Scaling, etc.): Learn how to create and manipulate basic graphic shapes such as rectangles and circles, and apply scaling for accurate design representation.
Graphic Objects: Overview of managing various graphic objects in EPLAN to enhance schematic layouts and visual elements.
Dimensions Measurement: Using dimension tools to measure and display accurate distances and sizes in designs.
- Inserting and Snapping Objects
Insert Picture: Steps for inserting images or reference pictures into the project, useful for including logos or external illustrations.
Snap Objects: Explanation of how to use the snap function for precise placement and alignment of graphic elements.
- Black Box Configuration
Black Box: Introduction to the Black Box feature, which represents undefined devices or placeholders in the schematic.
Insert Black Box: Instructions on how to insert a Black Box to indicate devices without detailed specifications.
Black Box Terminal (Device Connection Point): Guide to defining terminals within the Black Box to designate device connection points for clearer circuit design.
4. Using Macros and Placeholder Objects in EPLAN
- Understanding Macros
Macros: Overview of macros in EPLAN, which are reusable design elements that can save time and maintain consistency in electrical schematics.
- Types of Macros
Symbols Macros: Learn how to create and insert symbol macros, which are collections of symbols that can be reused across different projects.
Window Macros: Steps for using window macros, which allow you to save and reuse specific sections or windows within a schematic for efficient design.
Page Macros: Introduction to page macros, enabling the reuse of entire pages, including all symbols, connections, and formatting, to streamline project setup.
- Inserting Macros
Insert Macros: Guide on how to insert various macros into your project, simplifying the process of adding repetitive design elements quickly and accurately.
- Placeholder Objects
Insert Placeholder Objects: Introduction to placeholder objects, which are temporary or undefined elements used within a schematic for flexibility in design.
Use of Placeholder Objects with Window Macros: Explanation of how placeholder objects can be combined with window macros, allowing adaptable design elements that can be easily modified and reused in different projects.
5. Master Data and Part Management
- Understanding Master Data
Projects Master Data: Explanation of the master data related to projects, including project-specific details that define and structure your design data in EPLAN.
System Master Data: Overview of system-wide master data, detailing common resources or parameters that apply across various projects or system setups.
- Part Management in EPLAN
Create Part in Part Database & Assigning Part: Instructions on how to create new parts in the part database and assign them to specific components within your projects, ensuring consistent use of parts and easy updates across your designs.
6. Working with Reports in EPLAN
- Inserting and Editing Reports
Insert Reports in Projects & Editing Reports: Learn how to insert various reports (e.g., terminals, cables, part lists) into your projects and edit them to meet your specific needs.
- Types of Reports
Creation of Reports: Understanding how to create different types of reports in EPLAN.
Report Types with Extensions & Editing Forms: Overview of report types (e.g., terminal lists, cable lists) and how to extend and edit the forms for better customization.
- Working with Static and Dynamic Reports
Static and Dynamic Reports: Difference between static (fixed) and dynamic (data-driven) reports and how to apply them in your projects.
- Managing Report Headers and Footers
Header/Footer Customization: Learn how to customize the headers and footers of reports to include project-specific or company-specific information.
7. Templates & Title Block
- Creating Template
Steps for creating templates that standardize the layout and settings for new drawings, ensuring efficiency and consistency. - Update Title Block
Instructions for updating title blocks within drawings to reflect current project information and maintain professional presentation.
8. Plot Frames, Structure, and Navigation
- Plot Frame Management
Creating and Editing New Plot Frames: Learn how to create and modify custom plot frames for your pages to ensure consistent layout and project documentation.
Copy/Open and Modifications in Plot Frames: Understand how to copy, open, and modify existing plot frames for easy reuse across multiple projects.
Adding Special Text in Plot Frames: Instructions on adding and formatting special text (like project information) within the plot frames to enhance the documentation.
- Page Structure Management
Page Structure: Learn how to define the structure of your project pages and organize them logically for easy navigation.
Location/Structure Box: Overview of using location and structure boxes to categorize and manage different sections or elements of your project for efficient access and editing.
- Navigators in EPLAN
Devices Navigator: How to navigate and manage devices in your project for quick reference and editing.
Terminals Navigator: Understanding how to access and manage terminal information using the terminals navigator.
Cables Navigator: Overview of using the cables navigator to track and manage cable information across your design.
EPLAN Professional Course Completion - 2 Months
- Eplan Trainer feedback on your your work throughout the course.
- Submission of a 2D panel project.
- Professional EPLAN exam (50% passing score required).
- Eplan Completion certification 🎓
9. 3D Layout and Design
- 3D Layout Space
Learn how to work with the 3D layout space to place and organize devices and components effectively. This helps in visualizing the entire electrical system in three dimensions, ensuring accuracy in component positioning.
- Creating New 3D Layout
Understand how to create and manage new 3D layout designs for your electrical systems. This chapter covers the process of starting a fresh design and organizing components for clear and functional layouts.
- 3D Mounting Layout
Techniques for designing and arranging the mounting of devices in the 3D layout space. This involves positioning devices in a way that is both space-efficient and ensures easy access and maintenance.
- Take Enclosure
Learn how to assign and place enclosures in the 3D design space for your electrical systems. This is crucial for protecting your electrical components while optimizing space within the layout.
- User-defined Dinrail
Overview of creating and customizing your own DIN rails for use in 3D layout designs. This feature allows you to tailor the rails to your specific needs, ensuring that all components fit securely within the design.
- Take Step File
How to import STEP files for 3D modeling and further enhance your design. By using STEP files, you can bring in external 3D models and integrate them seamlessly into your project for a more detailed and accurate representation.
10. Routing and Device Management in 3D
- Routing
Learn techniques for efficiently routing cables, wires, and other elements through the 3D layout to create a clear, organized design. Proper routing ensures minimal interference and optimal use of available space.
- Routing Connection
Discover how to create and manage routing connections between devices and components in your 3D design. This process helps in maintaining electrical continuity while avoiding cluttered or obstructed paths.
- Device Properties
Understand how to edit and manage the properties of devices used in the 3D layout, such as dimensions, specifications, and connection points. This ensures accurate device placement and functional integration into the overall design.
- Device is Not in Library
Learn how to handle and place devices that are not available in the default library. You’ll discover how to create custom devices or import parts to ensure all components are accounted for in your layout.
- 3D Navigator
Learn how to use the 3D navigator to move and manipulate devices and components in the 3D space. The navigator allows for easy adjustments, providing full control over component placement in three-dimensional space.
- Viewing Angle and 3D Viewpoint
Understand how to adjust the viewing angle and rotate the 3D viewpoint to view your design from multiple directions. This feature helps in gaining a complete perspective of the design for better evaluation and optimization.
- Invisible Elements
Master techniques for managing invisible elements in your 3D layout, such as hidden devices or internal connections. This allows you to keep the design view clean while ensuring all elements are included for a functional system.
11. Advanced 3D Design and Customization
- Group & Ungroup Elements
Learn how to group and ungroup elements within your 3D design for easier organization and editing. Grouping elements together streamlines the design process, while ungrouping allows for individual modifications without affecting the whole assembly.
- Move and Duplicate
Techniques for moving and duplicating elements in your 3D layout. This feature enhances design efficiency by enabling quick adjustments and replication of components, making it easier to create complex systems.
- Drilling View
How to create drilling views for detailed component placement and construction in 3D. Drilling views help visualize where components need to be mounted, providing accurate guidance for physical assembly and installation.
- Mounting View (Aid)
Using mounting view aids to assist in the precise placement of components in the layout. Mounting view aids offer a clearer perspective of where each component will be located, ensuring that devices are properly positioned in the 3D layout for efficient wiring and installation.
- Connecting Point Designation and Direction
Overview of managing and assigning connecting points in your 3D design for proper electrical connections. By designating specific connection points and their directions, you ensure that electrical circuits are accurately routed and effectively communicate with each other.
EPLAN Master Course Completion - 3 Months
- Eplan Trainer feedback on your your work throughout the course.
- Submission of a 3D panel project.
- Professional EPLAN exam (50% passing score required).
- Panel Design Course Completion certification 🎓
How to Join Hypersoft Eplan Classes


EPLAN Certifications
In today’s competitive job and college placement landscape, highlighting practical skills on your resume is important. Hypersoft’s industry-validated Eplan course certifications, certified by NSDC, have the power to transform your resume. These certifications validate not only your Eplan skills but also your deep knowledge of the Designing Process, enhancing your credentials significantly.

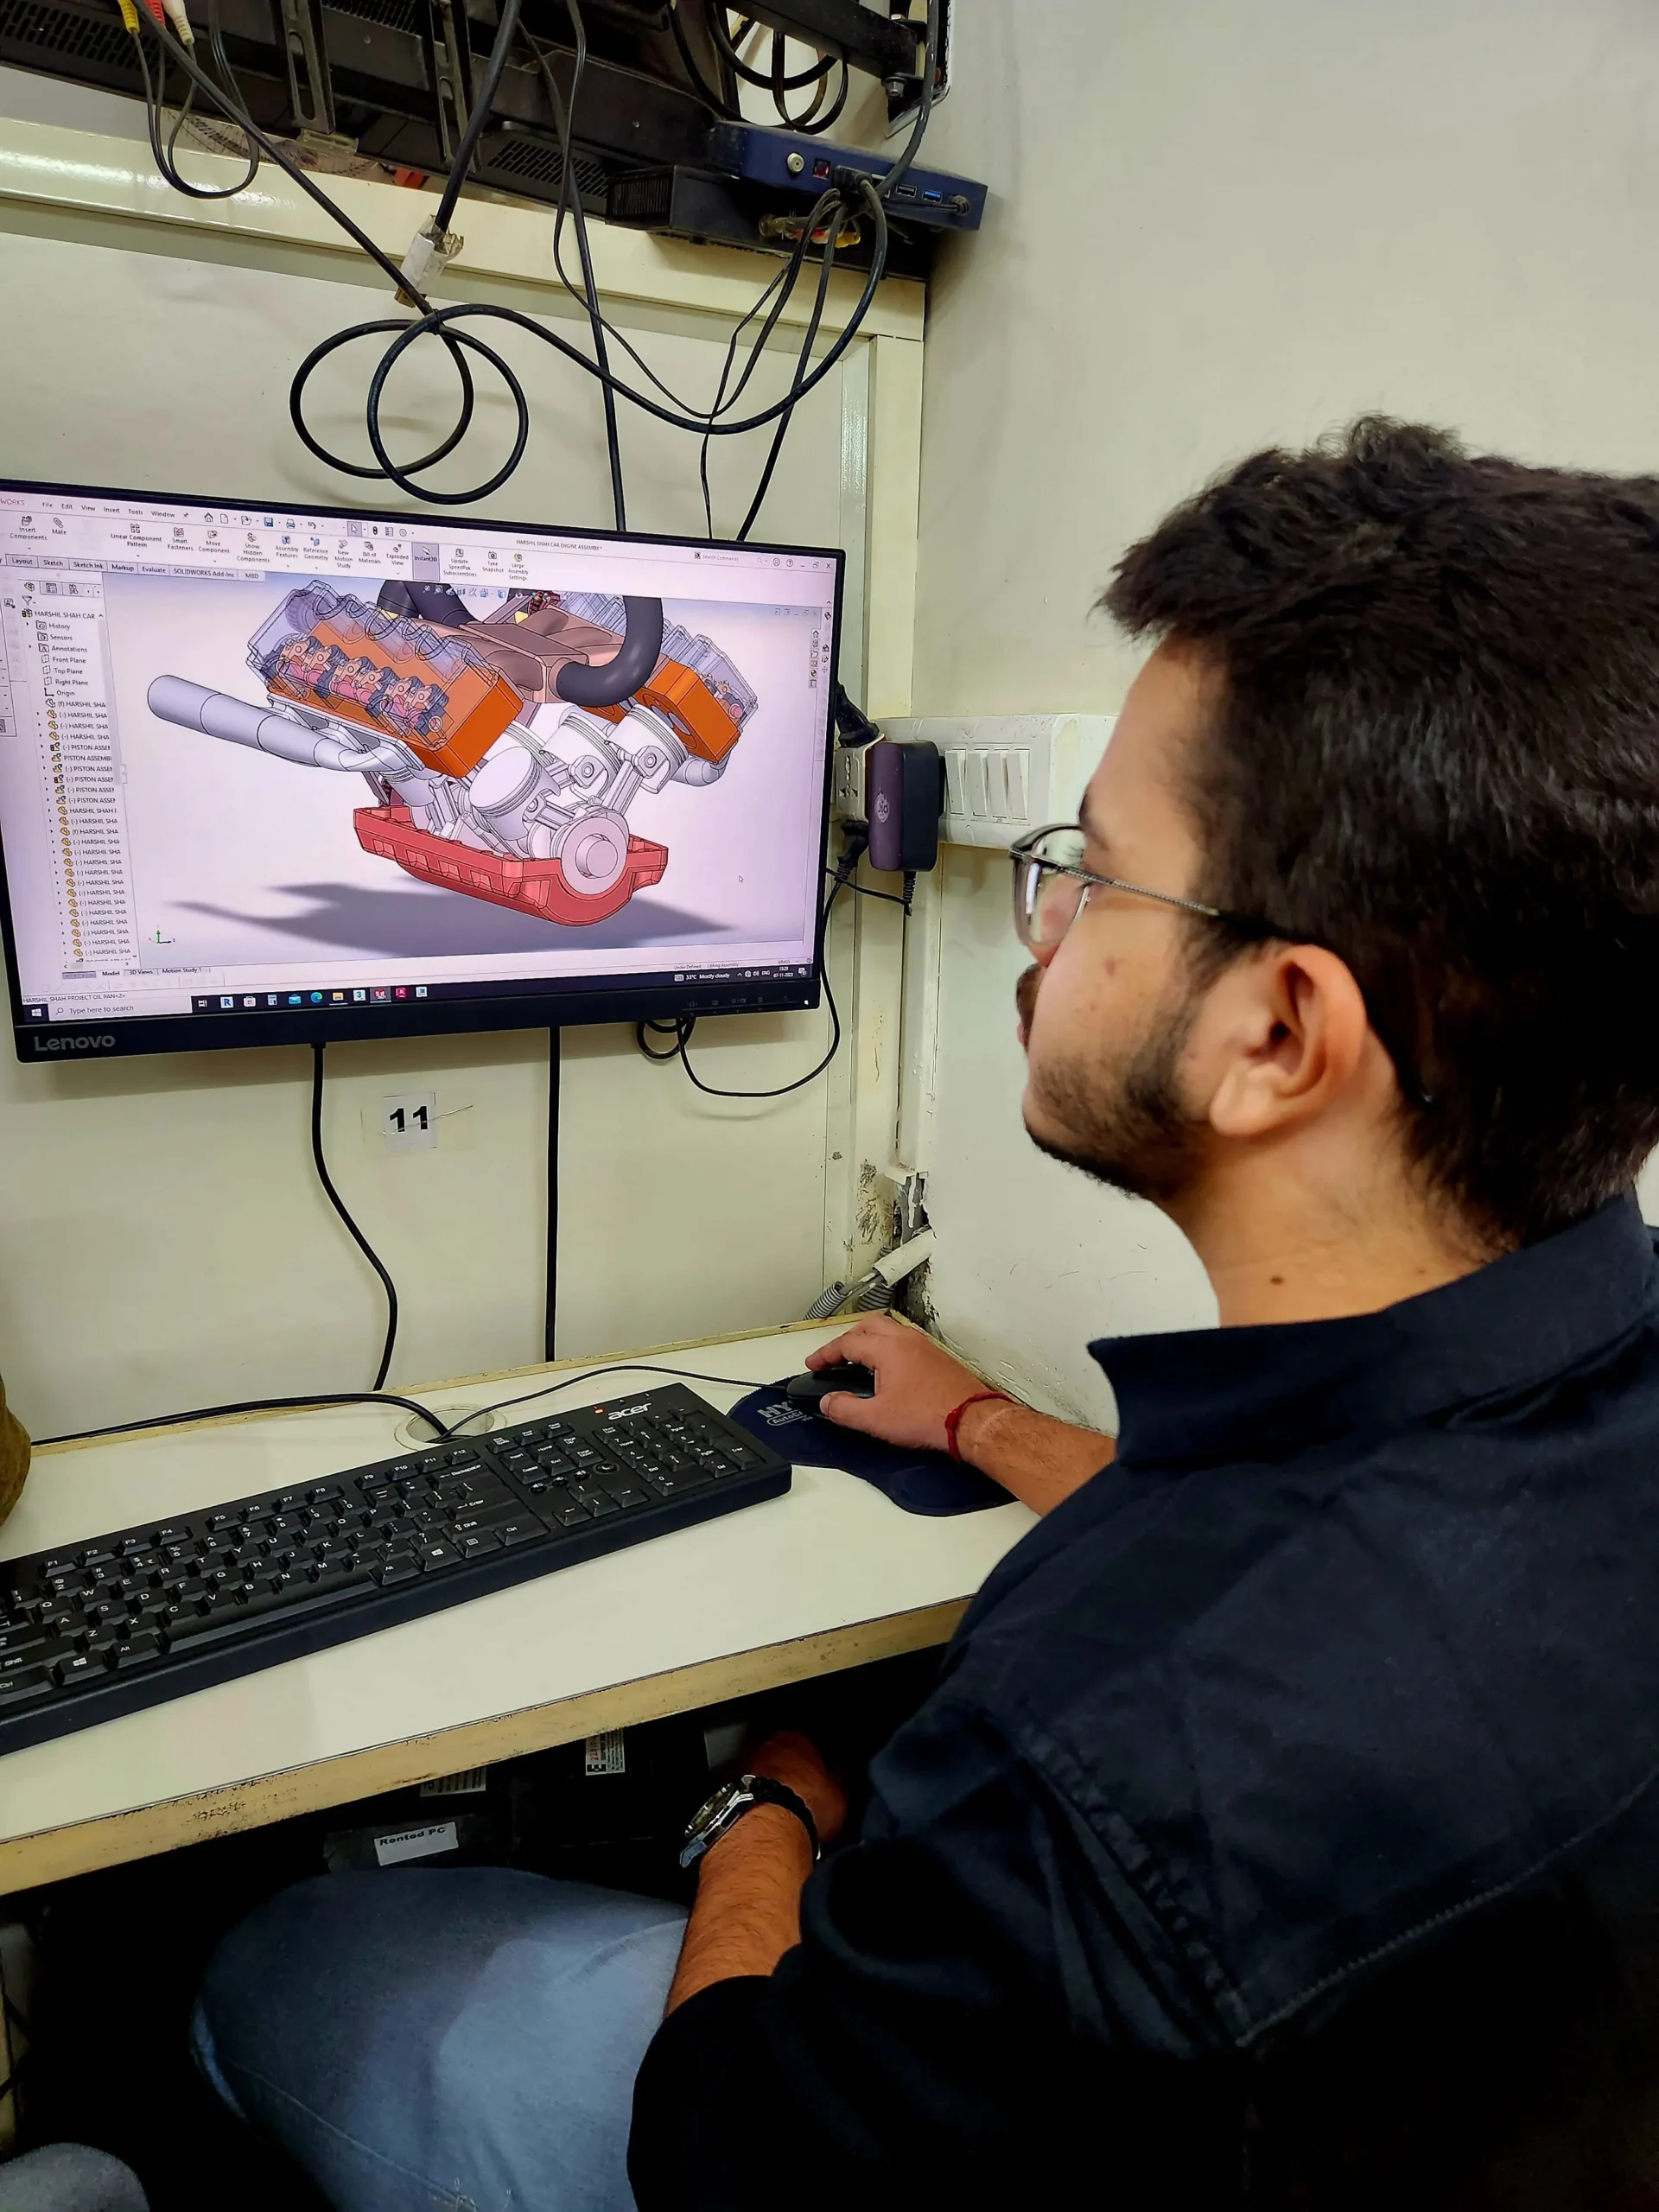
Hypersoft Sneak Peak
Sharing vibrant learning environment of our institute through photos of students’ learning experiences and trainers facilitating sessions.
Your Success, our goal
With extensive company partnerships, detailed training, and high student satisfaction, your future is in good hands.


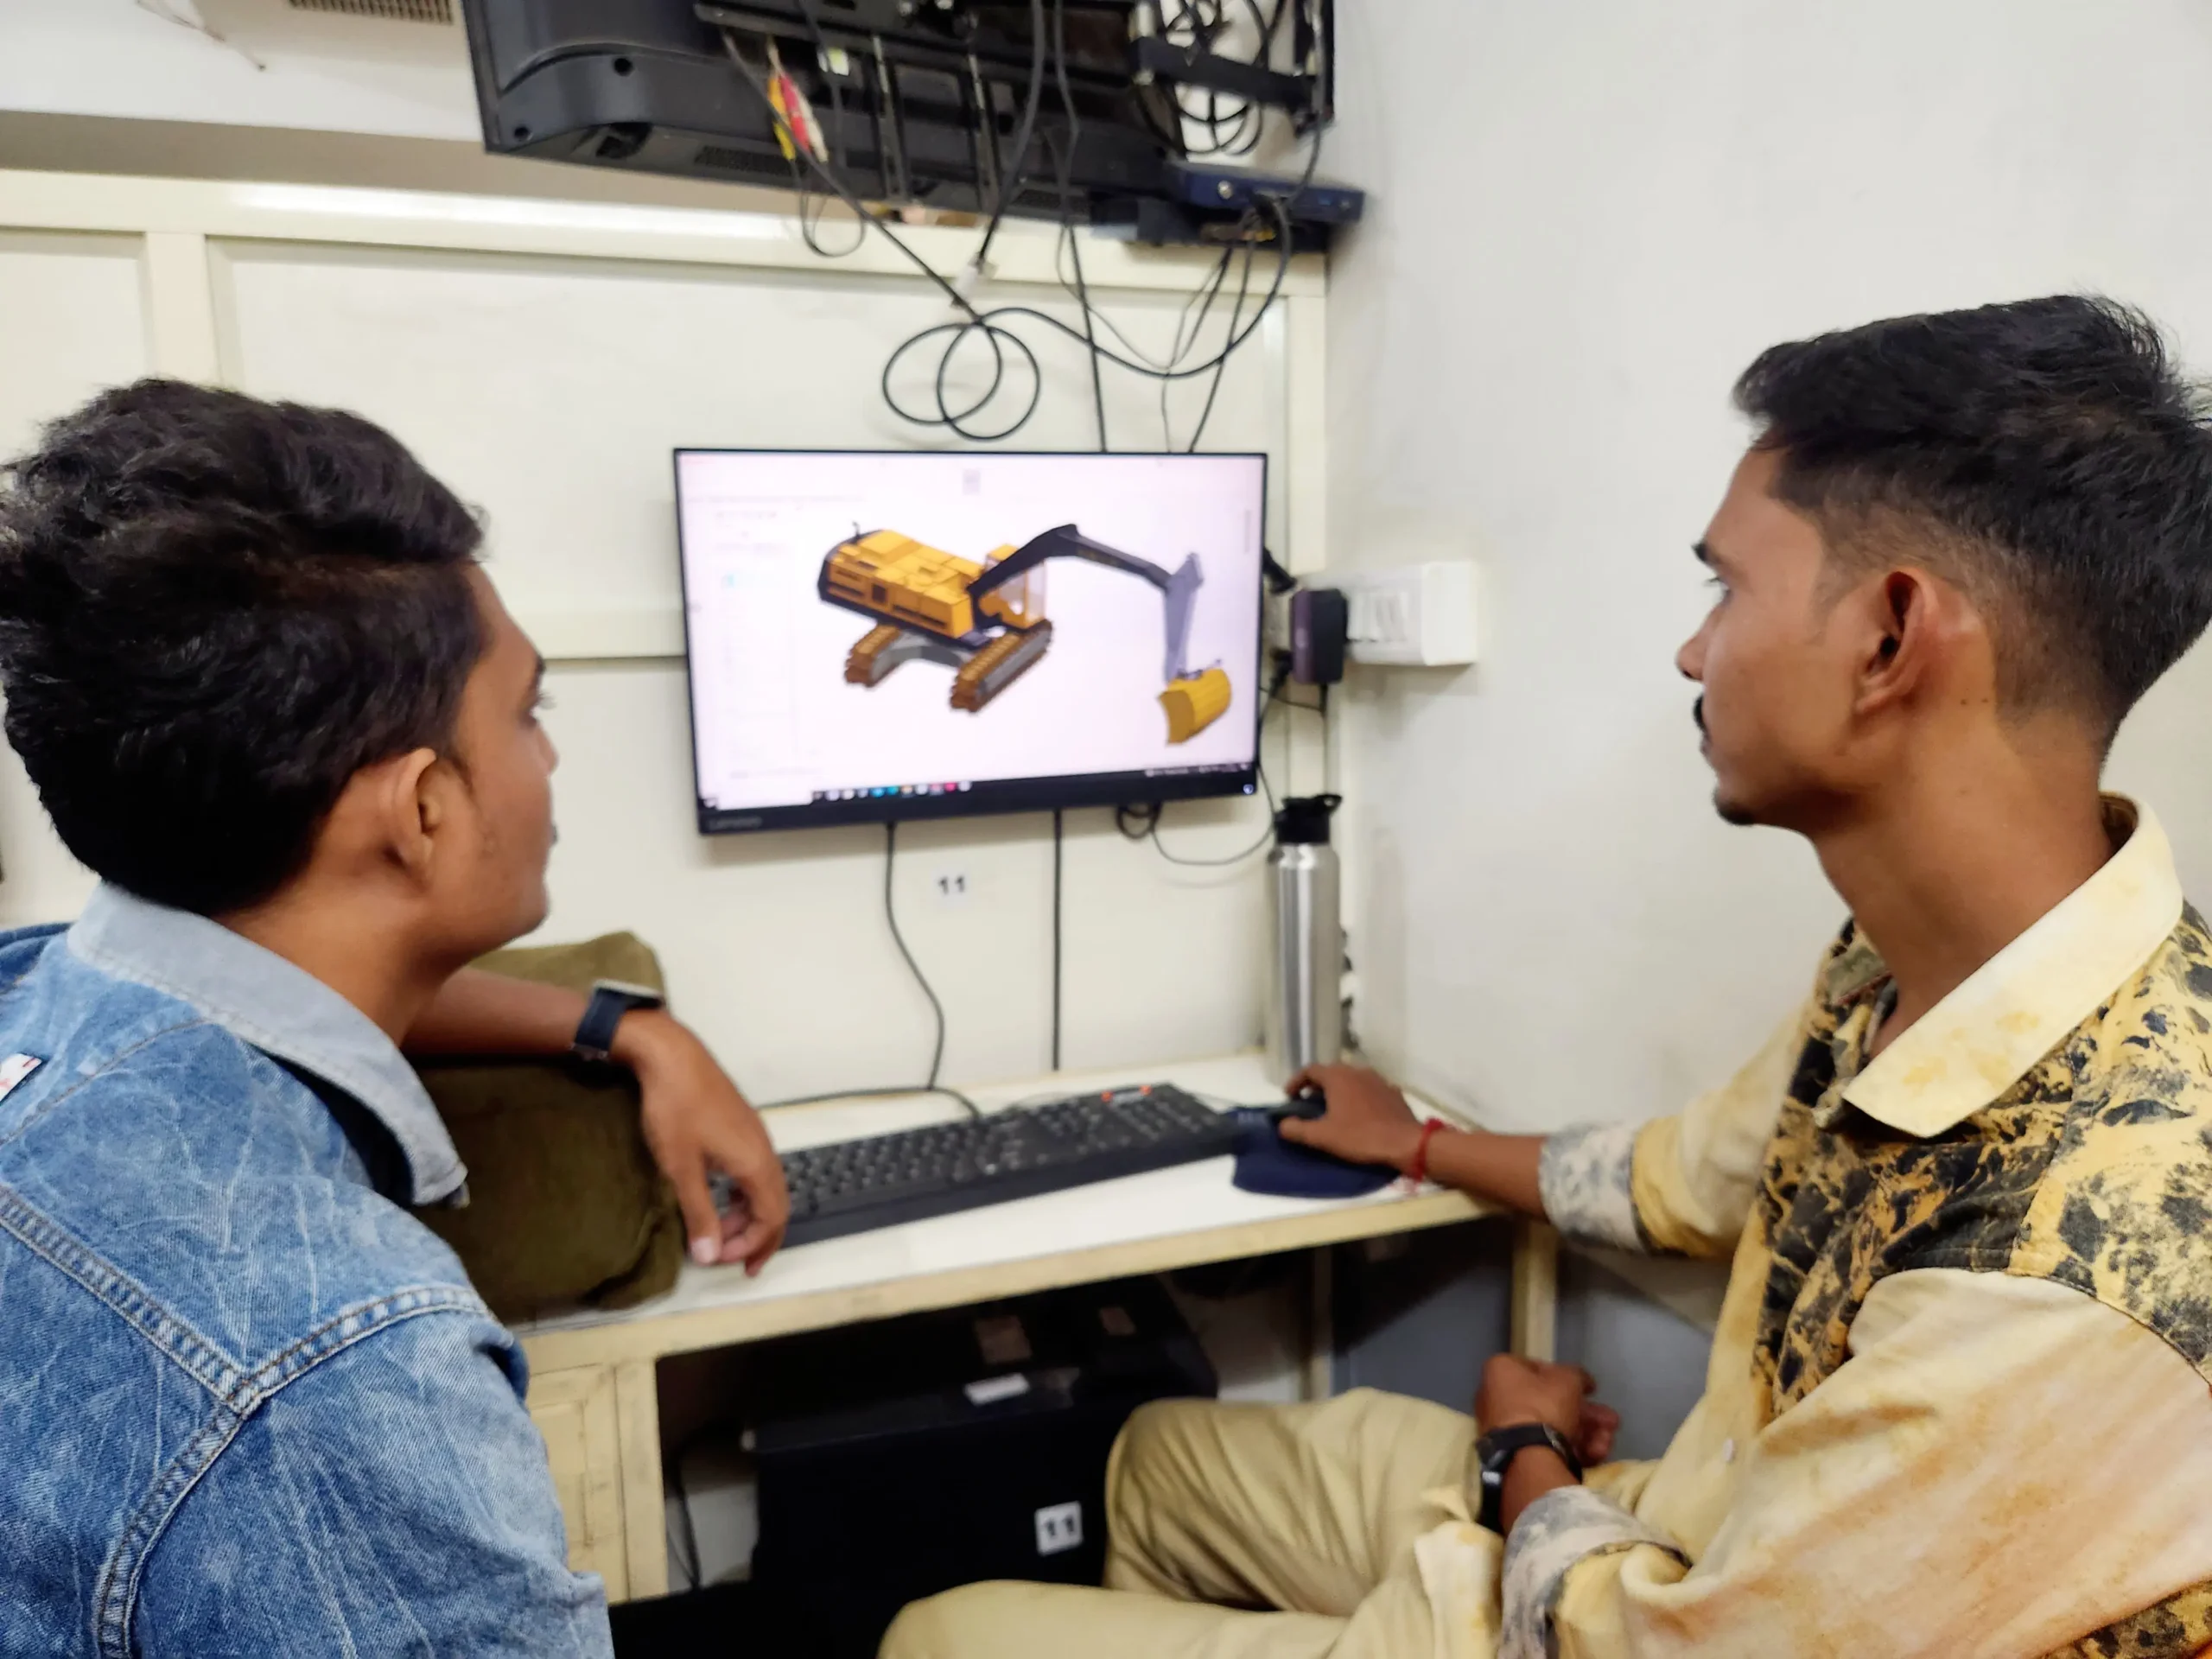
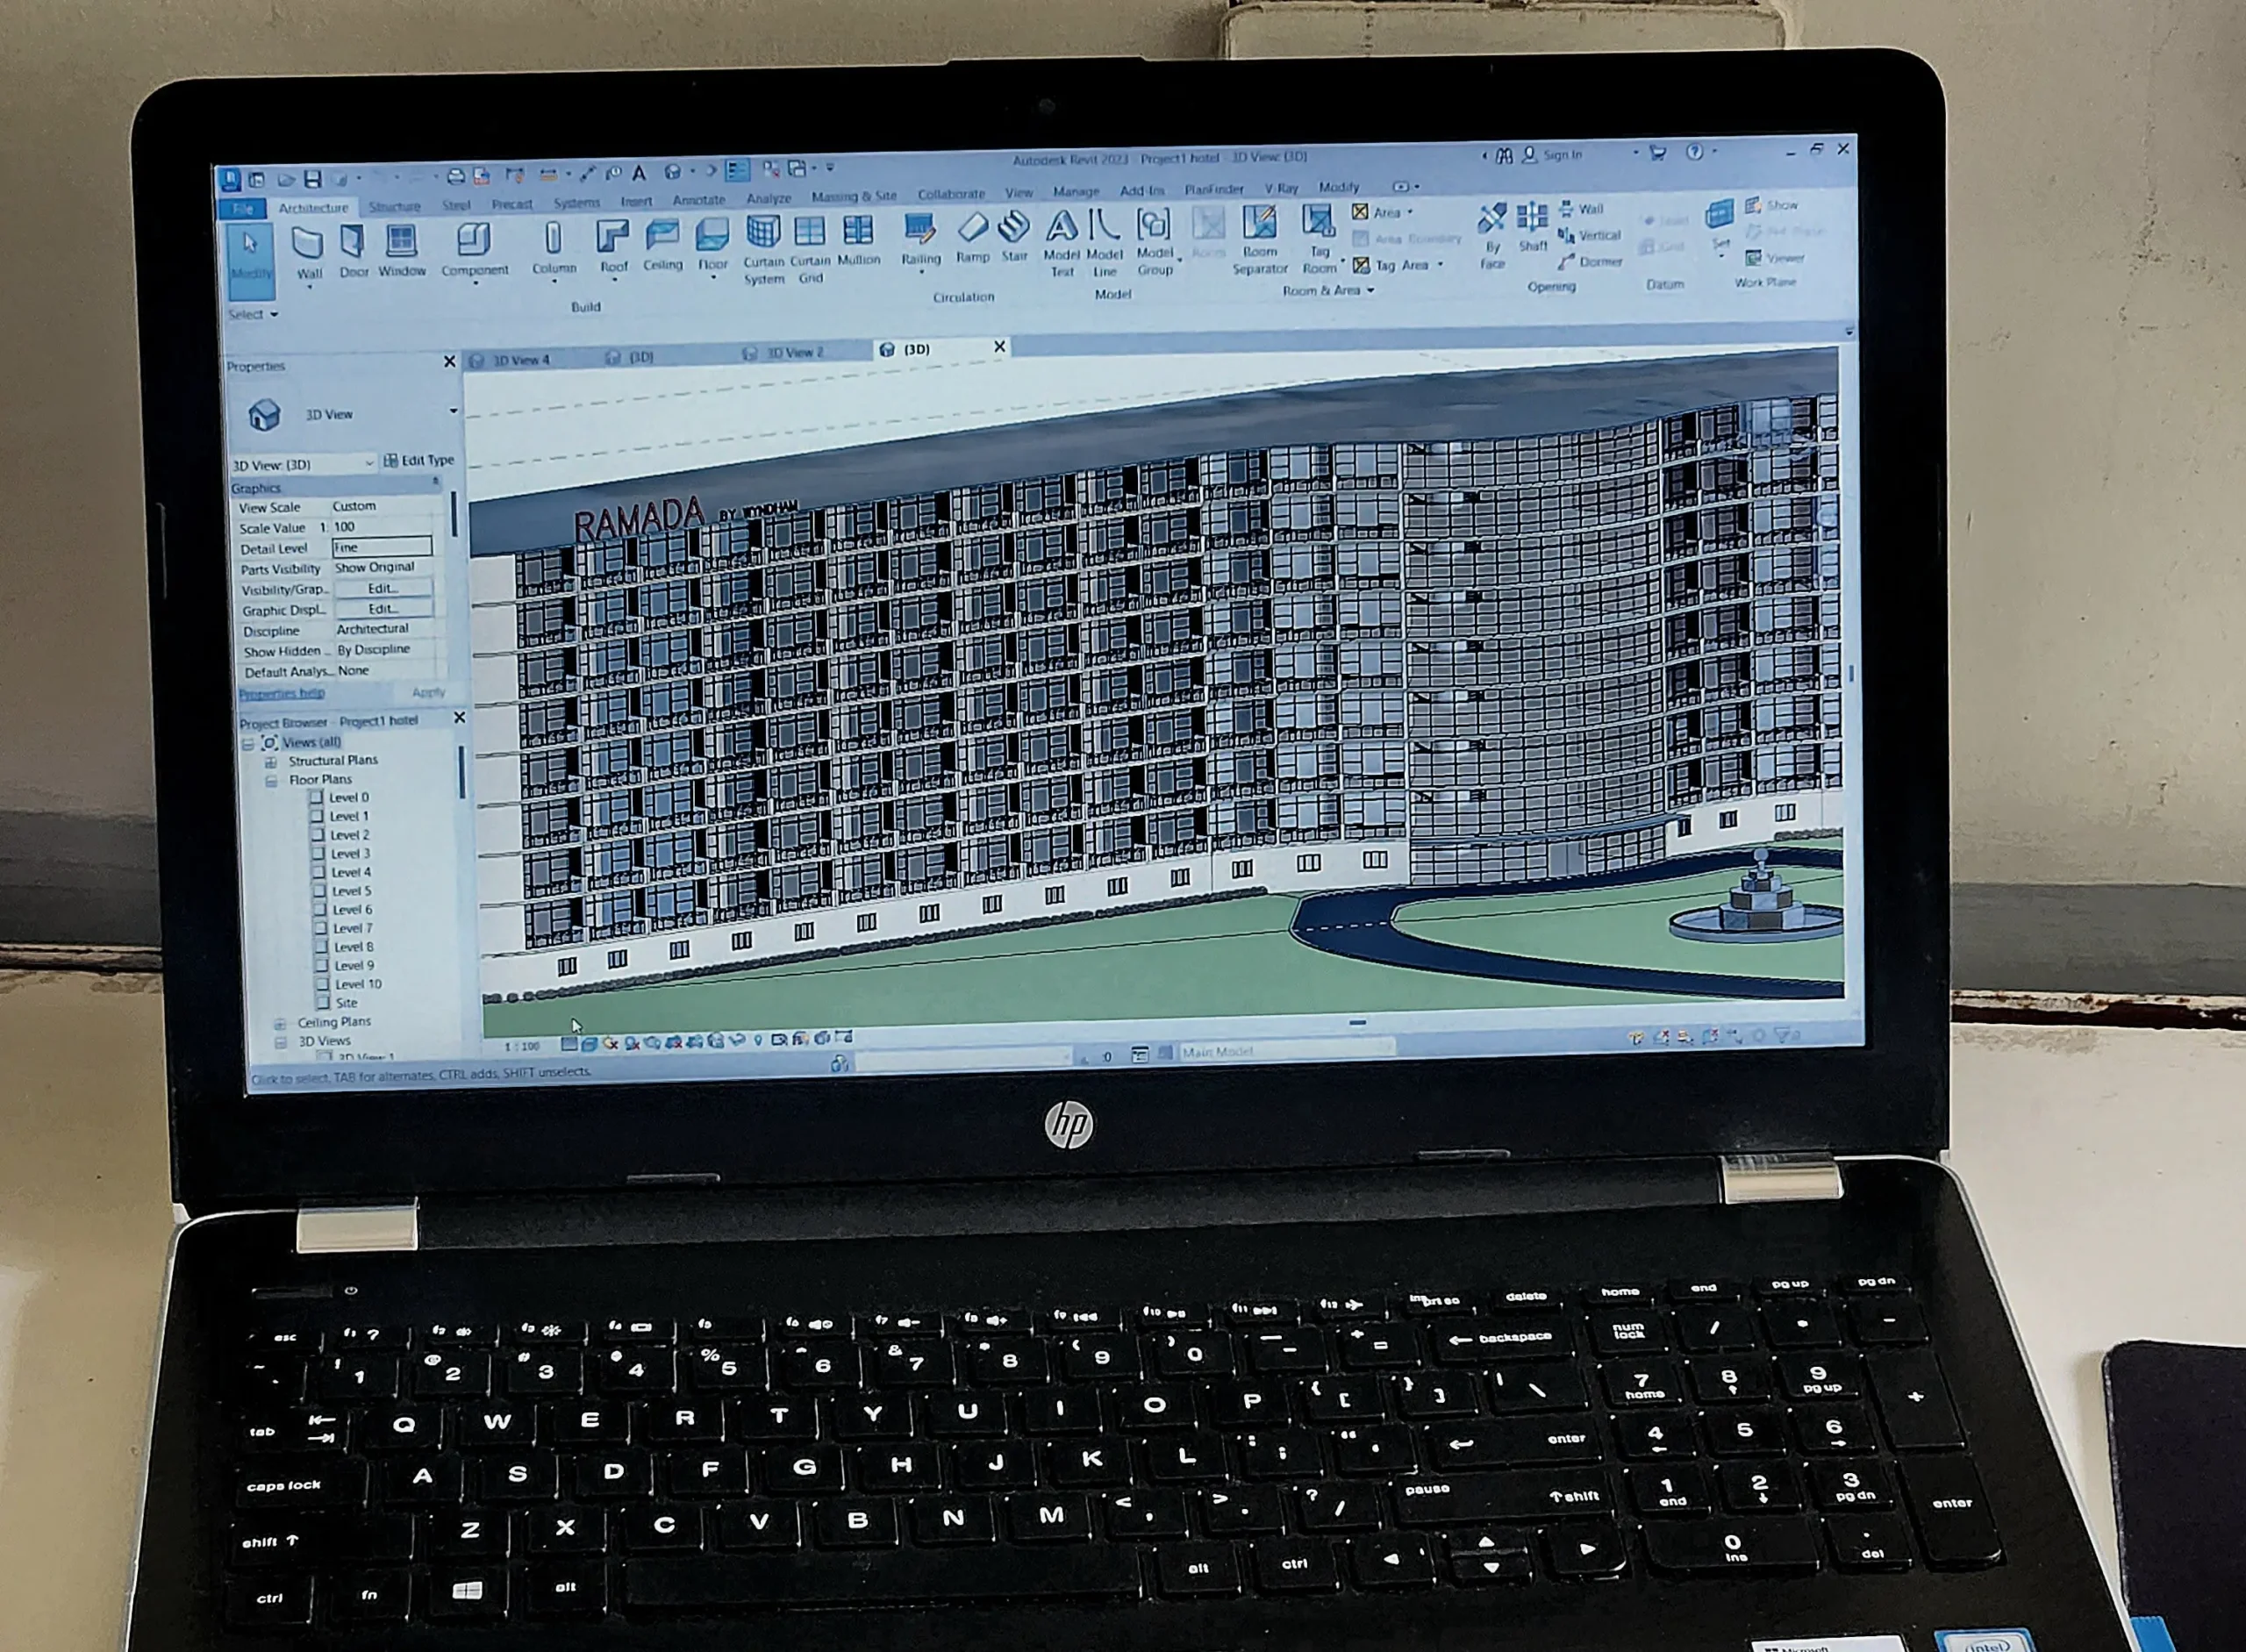
EPLAN Classes Students projects
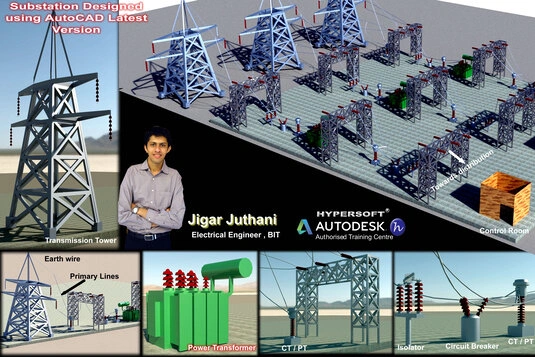
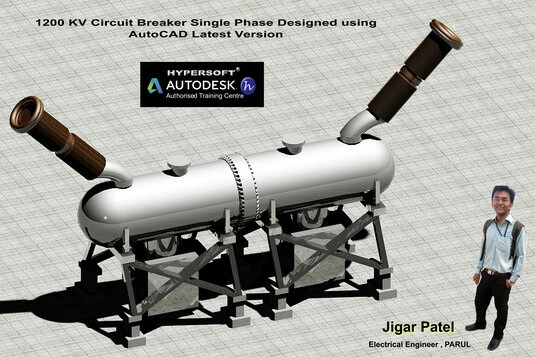
Hypersoft Leaners Succeed with Great Projects & Great Stories.
Explore Other Engineering Design Courses
AutoCAD Courses
📅 1.5 Months
🕑 1.5 hrs / Day

SolidWorks Course
📅 2 Months
🕑 2 hrs / Day
AutoCAD Electrical Courses
📅 2 Months
🕑 2 hrs / Day
EPLAN Course Help Desk & Student Support
What are the EPLAN class timings & Duration ?
EPLAN batches start every 15 days:
1st Weekend of each month
3rd weekend of each month
EPLAN Professional Course
Duration: 3 Months
Timings: 2 hours 7 to 9 Thursdays & Saturday
EPLAN Master Course
Duration: 4 Months 📅
Hours per Weekend: 2 hours 7PM to 9PM Thursdays & Saturday
To know about the new EPLAN batch timings,
call us at 📞 94278 99997!
What are the course fees for EPLAN training?
- EPLAN Professional Course Fees:- Rs 13950/-
- EPLAN Master Course fees:- Rs 16950/-
Note: EPLAN training, student sessions will be conducted on student laptops using the student version of the software. Corporate training will utilize company licenses
EPLAN classes are online or offline?
Is the EPLAN course being a certified course?
Yes🎉
You will receive course completion certification 🏅.
Certification requirements:
- Pass an online exam with a score of at least 50% 📝.
- Submit a project that demonstrates your skills 💻🔧.
Are there any Emi Options Available?
Yes❗
You can pay your Electrical Panel Design fees in two installments. 💳💼
Modes of Payment Accepted:
- Cash 💵
- UPI 📲
- Cheque 💰
- NEFT or IMPS 💻
Do you offer free demo classes for Eplan Course?
- Experience our teaching approach 👨🏫
- Check Your Interest: Are You Ready to Start Your Design Journey? 💡
What are the laptop and desktop specifications required to run Eplan software?
- CPU: Intel Core i5 10th Gen or AMD Ryzen 5 5th Gen (or above)
- RAM: 16 GB
- Storage: 256 GB NVMe or SSD
From where can I download EPLAN Electrical software?
To download the software, please follow these steps:
1. Click here 🔗.
2. Register yourself & Download 📝.
3. Unzip the downloaded file and start the installation.
4. Confirm license agreements.
5. You’re all set! 🎉
Where can I download EPLAN practice exercises?
You can download AutoCAD practice exercises for:
- Electrical CAD
Your trainer will provide the file password 🔑.
Which websites should I avoid for EPLAN downloads?
Warning: Avoid downloading AutoCAD Electrical from unauthorized websites like
- FileCR,
- GetIntoPC, and
- unverified Telegram sources.
These platforms often distribute counterfeit or harmful software that can put your device at risk. Always download EPLAN from trusted sources, such as the official EPLAN website, to ensure the software is safe and legitimate.
How much do EPLAN classes cost?
EPLAN Offline Training Costs: Typically range from Rs. 12,000 to Rs. 55,000 💸.
Key Factors to Consider Before Choosing a Training Institute:
- Reputation & Experience: Check how long the institute has been around and its expertise in AutoCAD.
- Learning Resources: Check if the course includes eBook, textbooks or any other material.
- Practice Exercises: Crucial for understanding the depth of knowledge you’ll gain and your readiness for real-world applications.
- Certification: Aim for certifications above ISO standards (ISO is a company standard, not meant for training certificates).
- Post-Training Support: Look for ongoing assistance after course completion.
- Job Placement Assistance: See if the institute offers career support or placement services after the course.
- Alumni Feedback: Look for reviews or testimonials from previous students to gauge the quality of the training.
Hypersoft meets all 7 key factors mentioned above while keeping fees affordable and accessible.
What happens if I don't attend classes regularly?
If you miss more than 5 classes without written leave, your admission may be suspended.
You’ll be required to pay a re-activation fee of Rs. 500 or more.
Additionally, you won’t be able to attend makeup classes for the missed lectures 📚, and you may not be eligible to apply to top companies through Hypersoft Placement 💼.
Stay Regular & take written leave from trainer to gain maximum benefit of your learning journey! ✅
I was not able to attend a session. Will i get a refund for it?
Our refund window is open for 5 days from the date of admission.
However, for your convenience, you can reschedule your enrollment to another batch with a minimal transfer fee. 😊🔄
Will I get a job after completing the EPLAN course at Hypersoft?
Yes🙌
Hypersoft provides comprehensive job placement support through JobKart, our dedicated placement portal 💼.
With over 25 years of industry connections 🤝, we regularly receive job openings from top companies.
After you join, you’ll be added to the Hypersoft Placement Group 👥 for direct job updates and career assistance.
With our strong network and placement services, you’ll be well-prepared to land a job after completing your training 🚀.
What are the benefits of learning EPLAN in Vadodara?
- Enhanced employability with a skill highly sought after in industries like engineering, and manufacturing 🏗️🏭.
- Entry into white-collar job sectors where AutoCAD expertise is often a prerequisite for roles in design, engineering, and project management 💼🛠️.
- Career growth and higher salary potential in companies that value AutoCAD proficiency 📈💰.
What if I leave the class and want to complete it later or require a certificate?
If you take a break of more than 15 days without written leave.
A reactivation fee of ₹2,500 will be required ⚠️.
if you missed your exam you’ll need to pay an exam fee of ₹2,000 📜💰To get a certificate later.
Exams are conducted within 10-12 days after the course duration, or earlier if required.
How can I find Best EPLAN classes in Vadodara?
- Google “Best EPLAN classes in Vadodara” 🌐, read reviews ⭐, and visit the top-rated institutes. Hypersoft is the top-rated institute in Vadodara with 25+ years of expertise 🏅.
- Check the brand value of the institute 🔍. Institutes with a strong brand value tend to have better credibility and higher placement rates 📈.
- Also, ask friends 👥, seniors 🎓, or faculty 👨🏫 for recommendations.
What happens if I am unable to complete the course within given time?
If you are unable to complete the course within the given duration, don’t worry—we offer an extended time of 1.5 times the original duration to complete the course. 🕒
For example, if your course duration is 30 days, you can complete it in 45 days. 🗓️
After receiving your certification, you’ll become a valued member of the Hypersoft alumni network & you will get
- doubt resolution +
- revision assistance +
- access to premium masterclasses +
- placement 🎓😃🎉
All free of charge for a lifetime! 😲